|
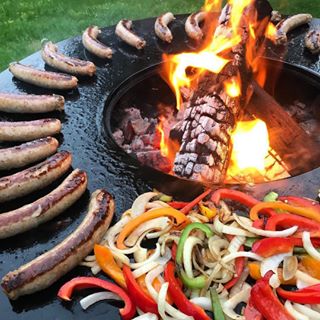
If you are anything like me, when you BBQ you go big.
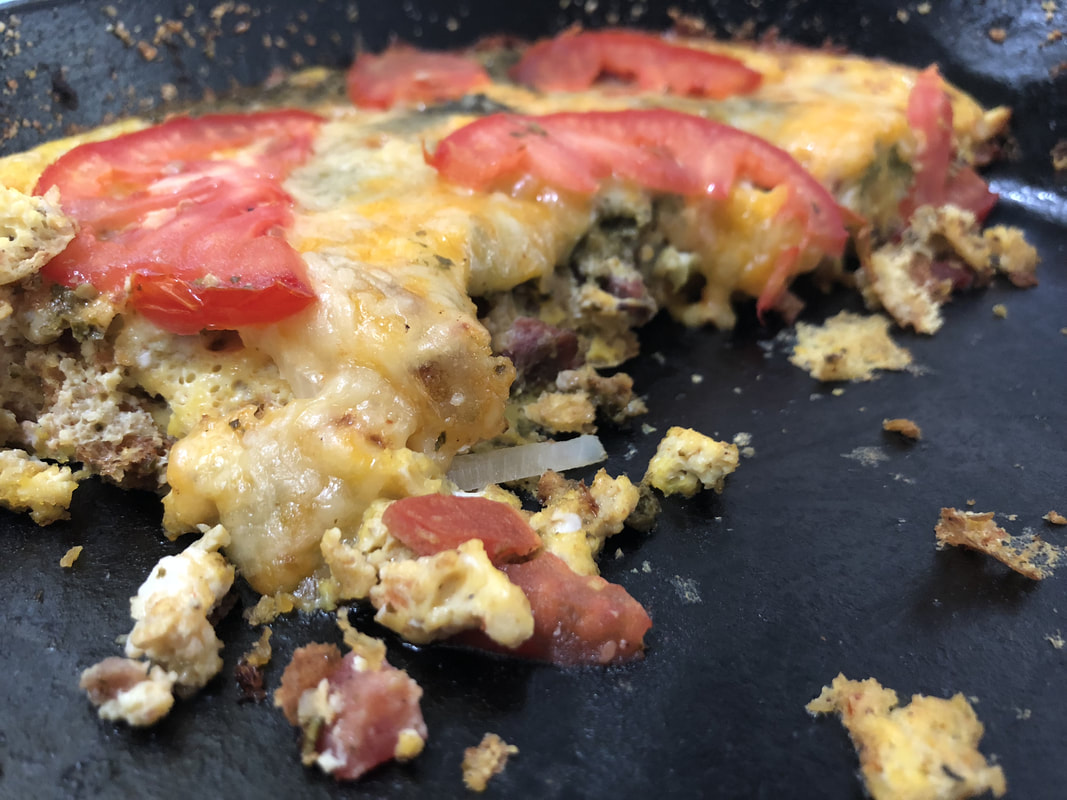
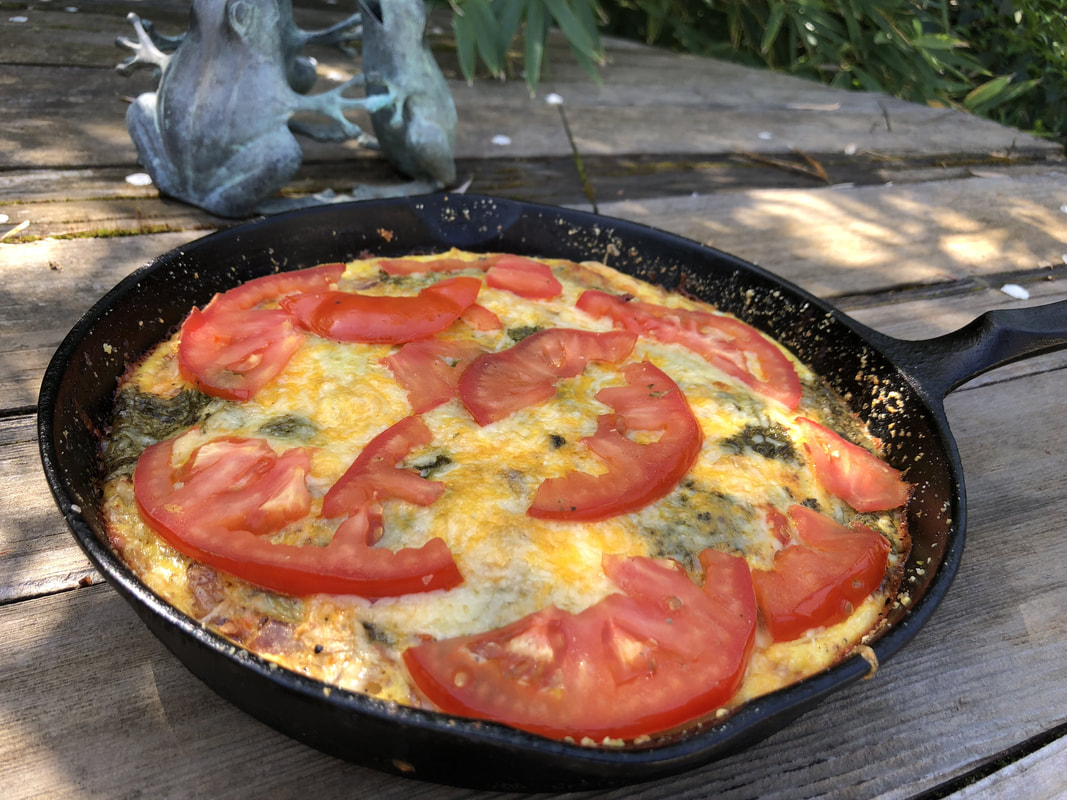
If you are entertaining you always want to make sure that you have enough grub for everybody. Even if you are just cooking for 2, BBQ usually involves slow smoking a Large piece of meat. Which ends up being way too much for just 2 people. The question becomes "What to do with the leftover BBQ" If we have a lot of leftovers, we like to vacuum seal and freeze some in meal size amounts to be reheated later and added to; pasta, rice, salad, tacos, chili, or whatever you have going on for a mid week dinner. Sunday morning is one of my favorite times of the week, after a BBQ Saturday. The simple addition of leftover BBQ chicken, pulled pork, grilled veggies, or tri-tip mixed with eggs and cheese can make the perfect Sunday breakfast. Leftover BBQ tri-tip Frittata
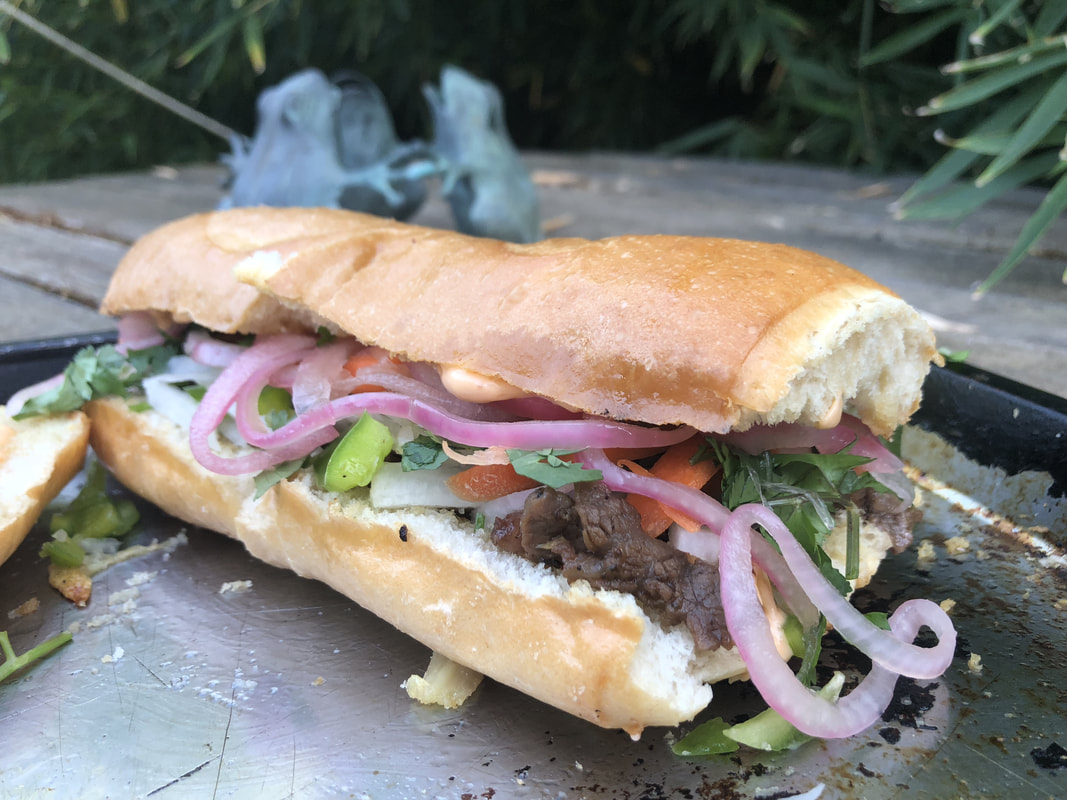
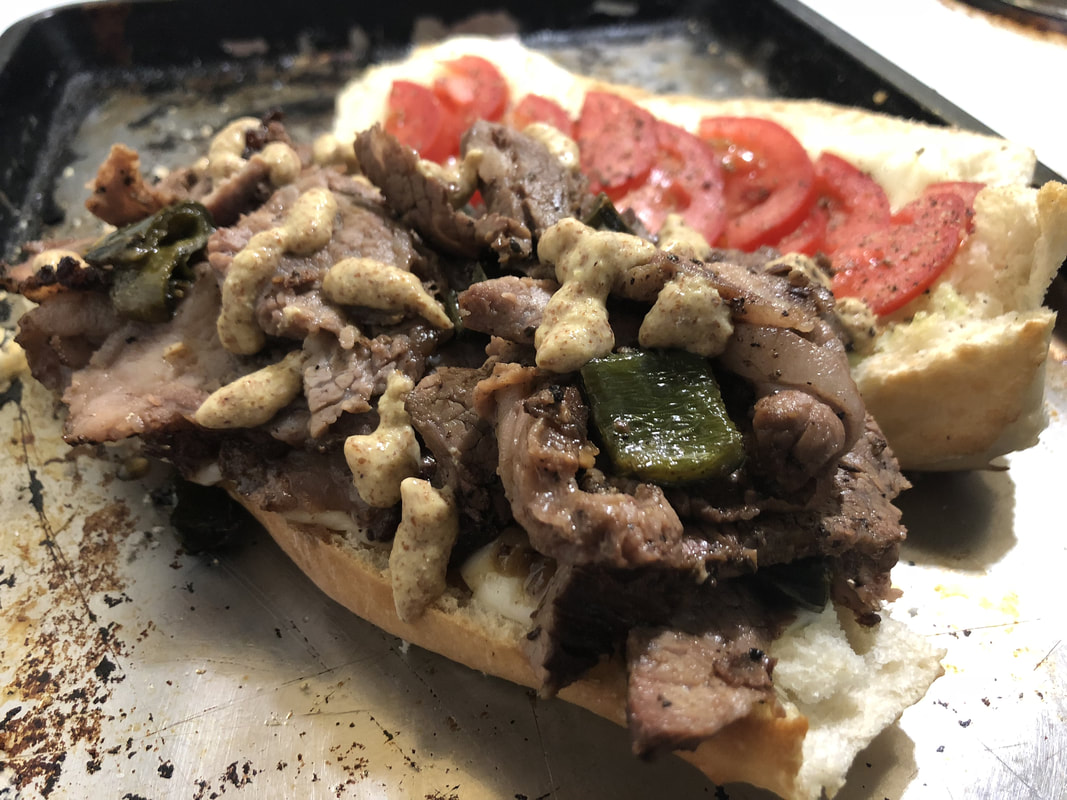
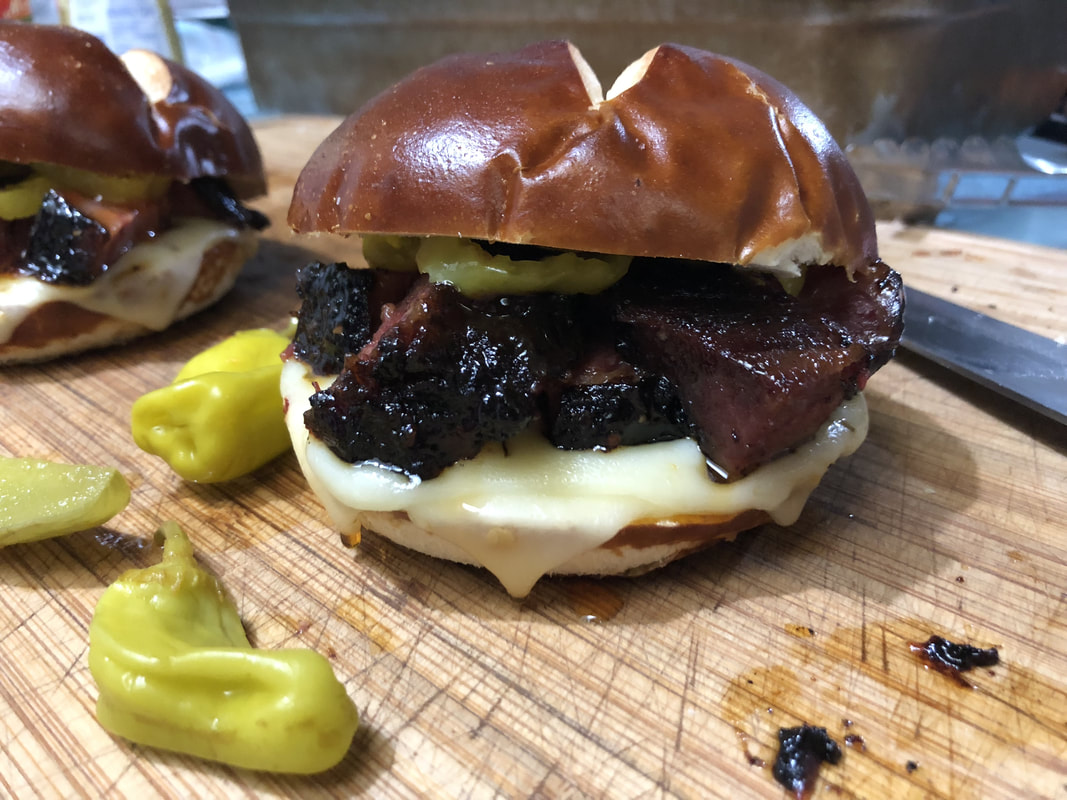
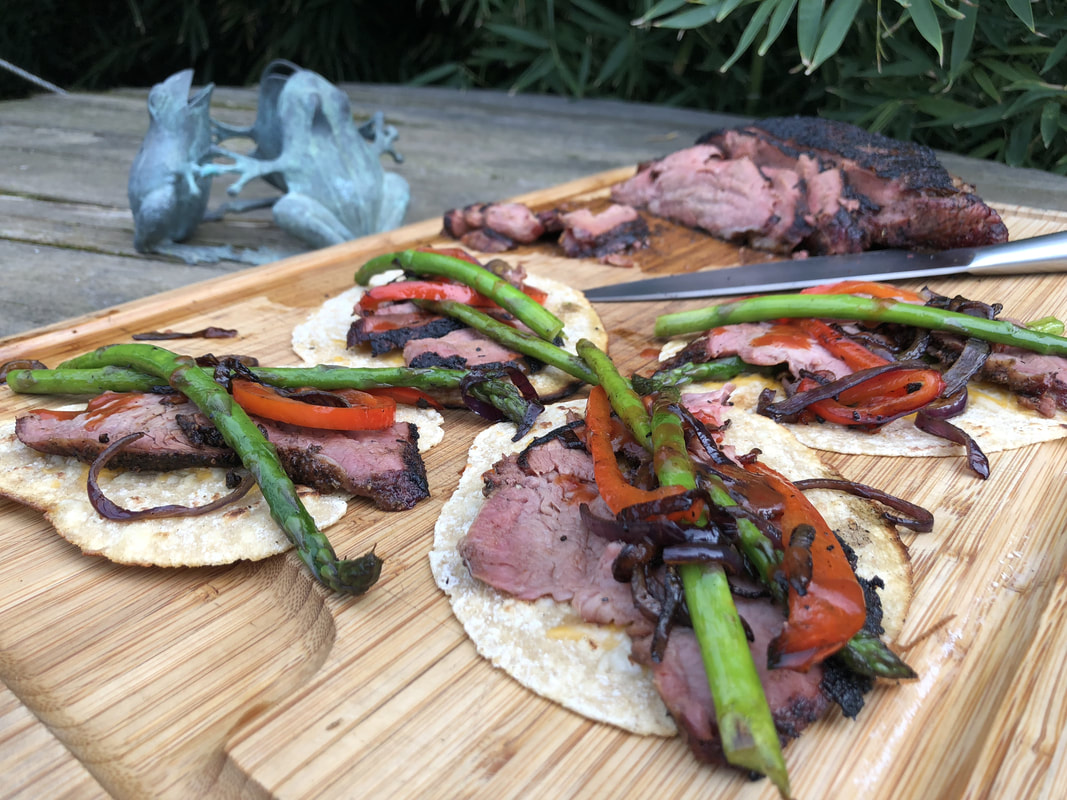
Simply mix beaten eggs with a small amount of milk. Add your leftover tri-tip, grilled peppers & onions, broccoli, or whatever you have. Mix together and pour into a greased cast iron pan. Add a handful of your favorite cheese and place in the BBQ indirect, or in the oven at 350 deg. for about 30 minutes until cooked through. Top with fresh sliced tomatoes and dig in. SANDWICHES!! Typically, even before I start BBQ'n, I'm thinking about the Awesome leftover BBQ sandwich I will be grubb'n on the next day 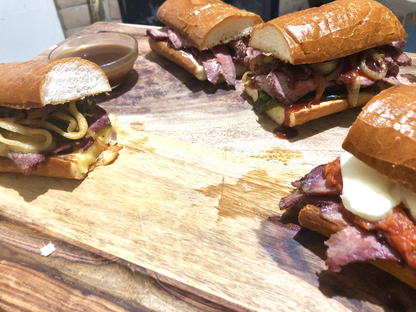 I made 4 different sandwiches out of the same leftover BBQ Tri-tip One Philly style,with grilled peppers and onions and Provolone One Italian with home made marinara and mozzarella One BBQ style, with grilled onions, roasted pablano peppers and BBQ sauce And one French dip style, with horseradish and Au jus for dipping
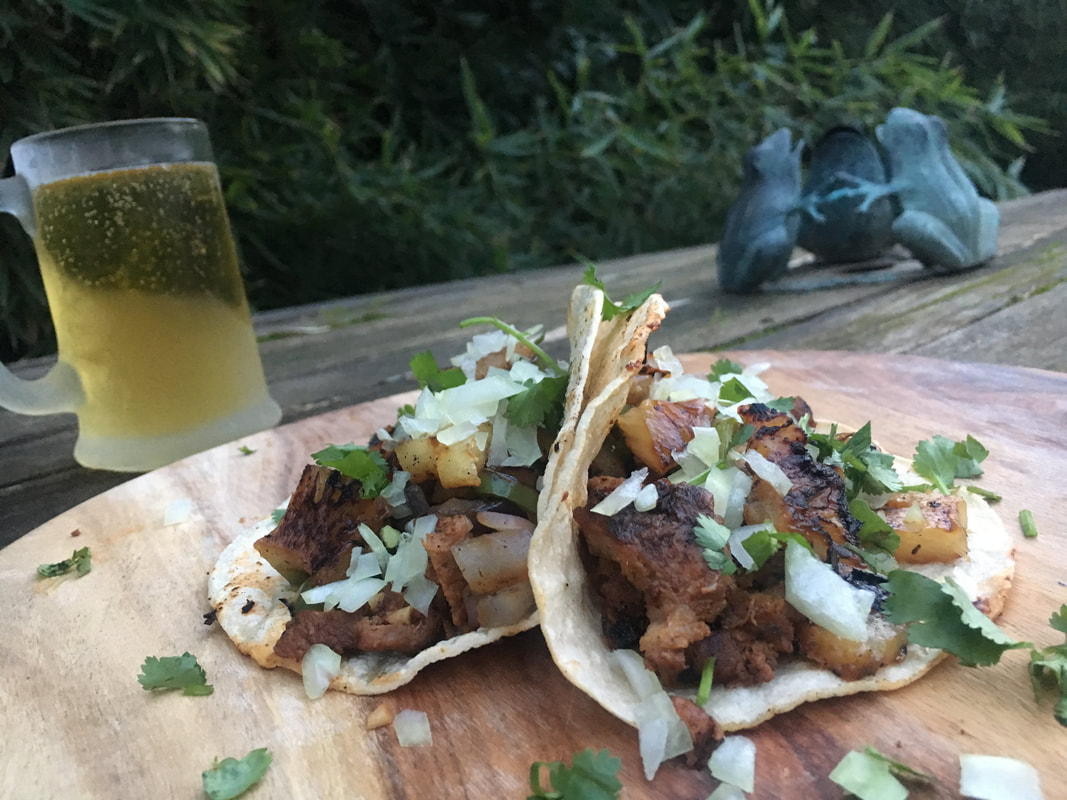
TACOS!! I'm from California, and out here you learn pretty quick that damn near anything can be folded up in a tortilla with some cheese, pico de gallo, avocado, hot sauce......... and devoured on a regular basis!
1 Comment
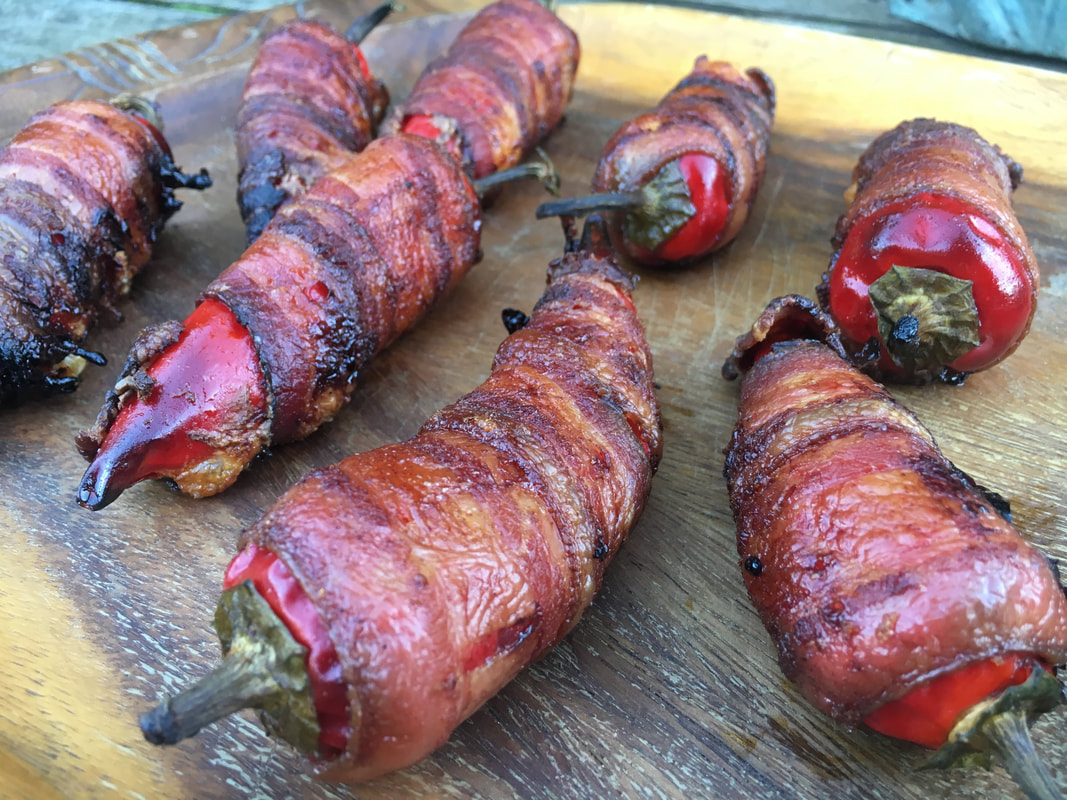
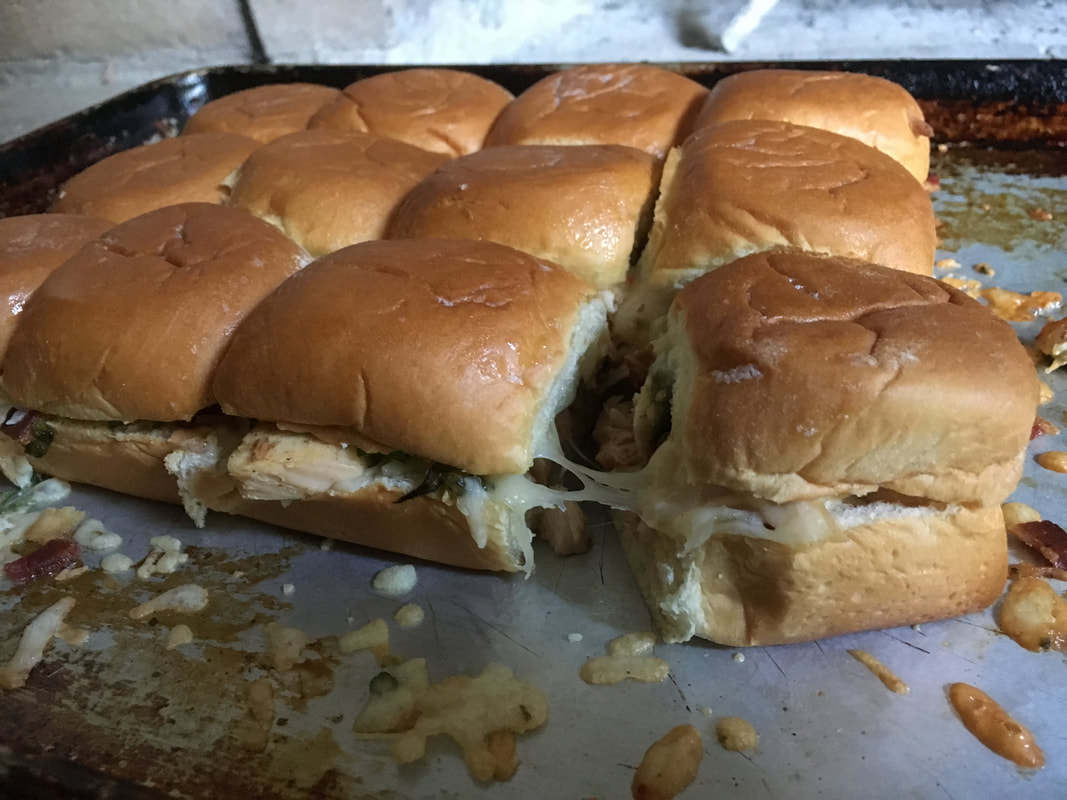
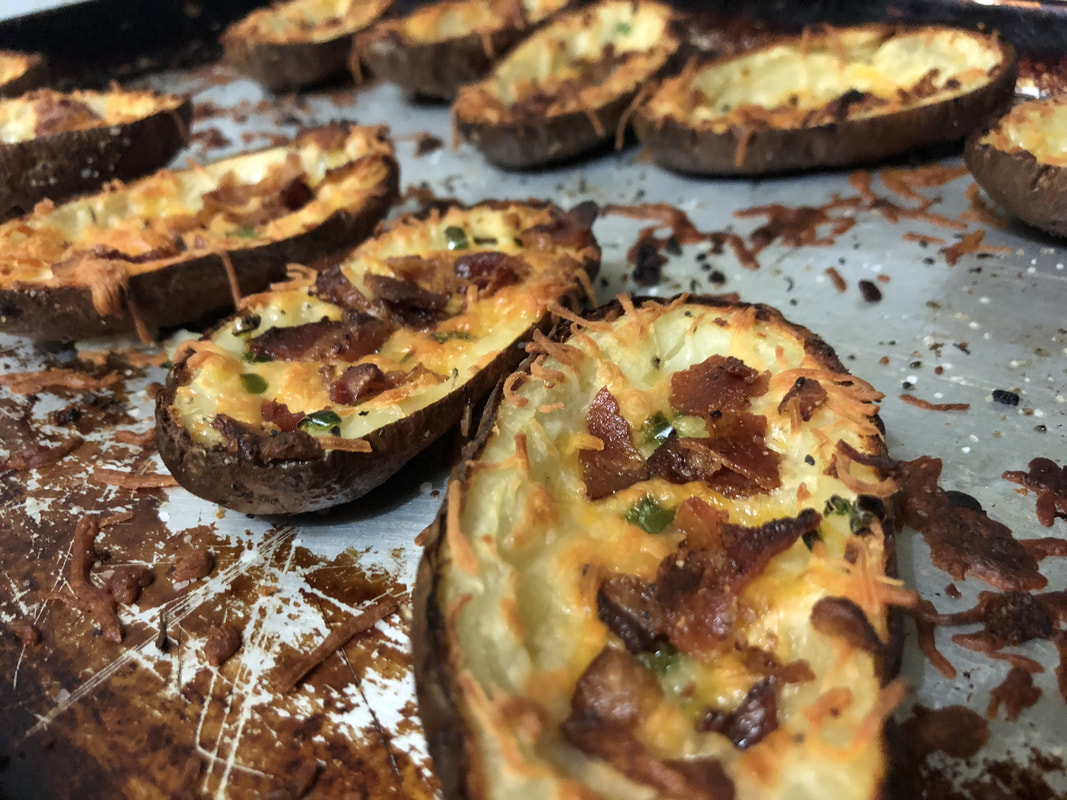
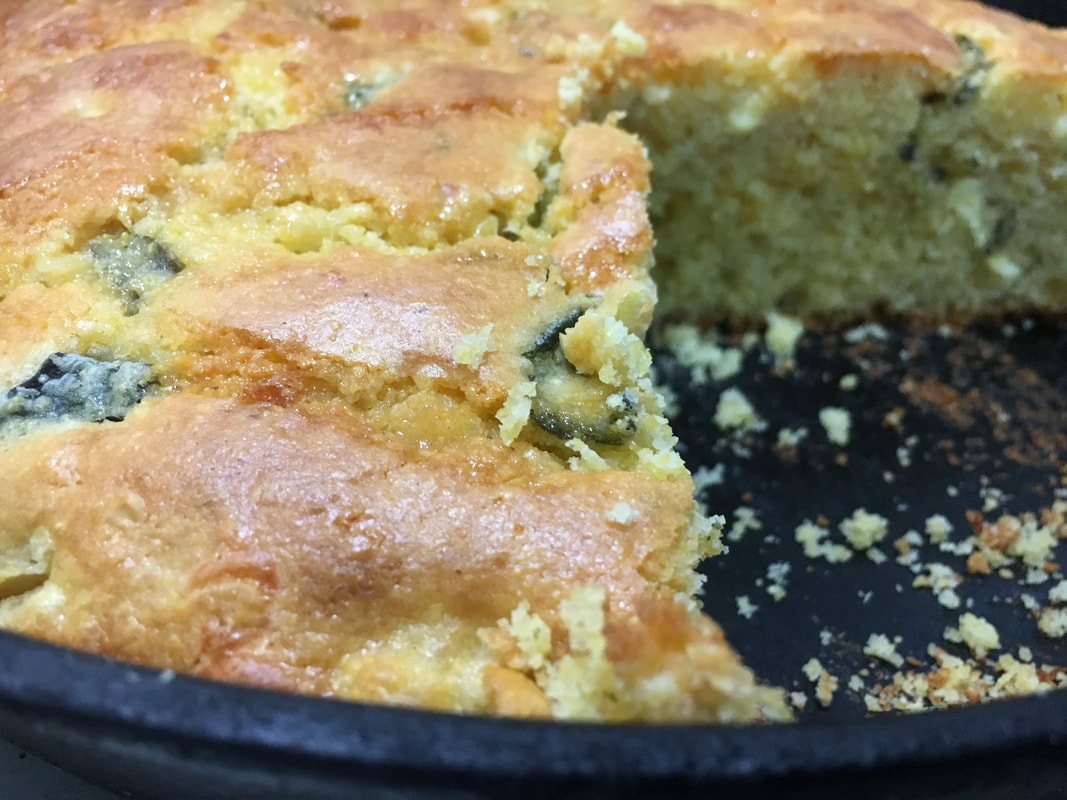
We are big time Football fans and have always loved hosting Sunday Football BBQs Most people that show up to our parties bring side dishes, and it is usually a wide array of flavors and styles. Which is "Awesome!!" We usually end up with one main dish and about 27 sides!! Here are some of our go to BBQ sides that we make on a regular basis
These simple BBQ side dish recipes are easy to make, but always a big hit at our parties "Have Fun!"
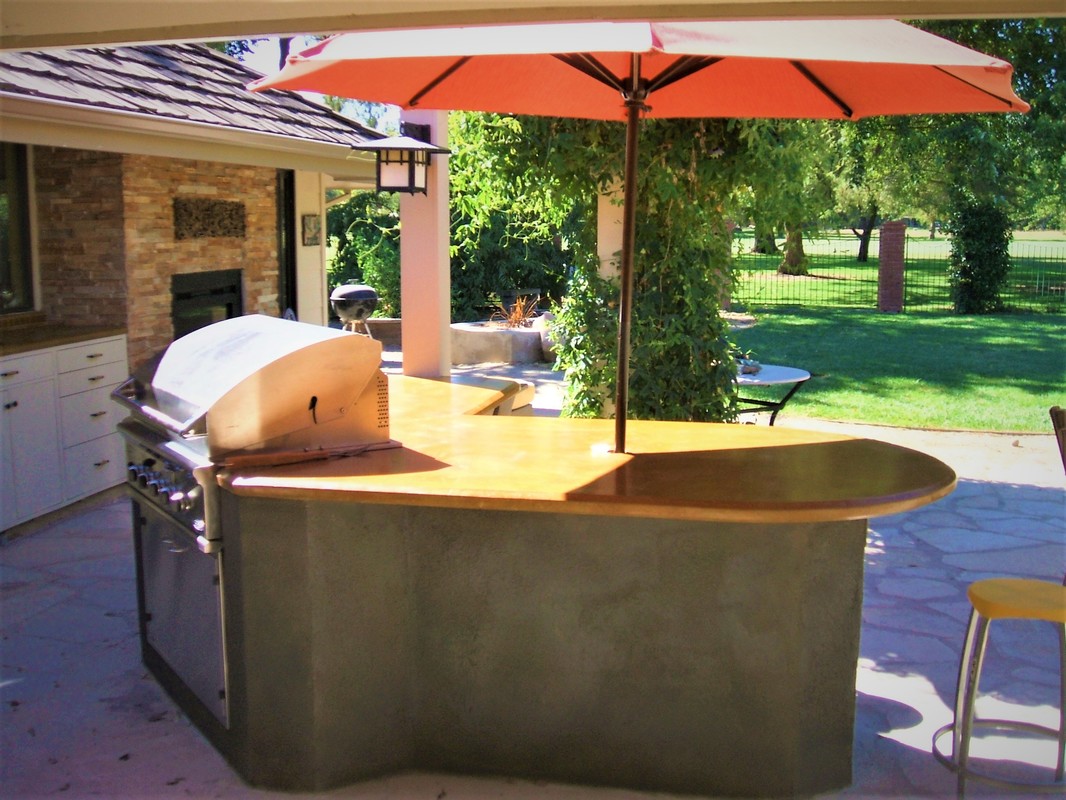
Your BBQ island is going to be an extension of your kitchen as well as the gathering place for most of your guests. |


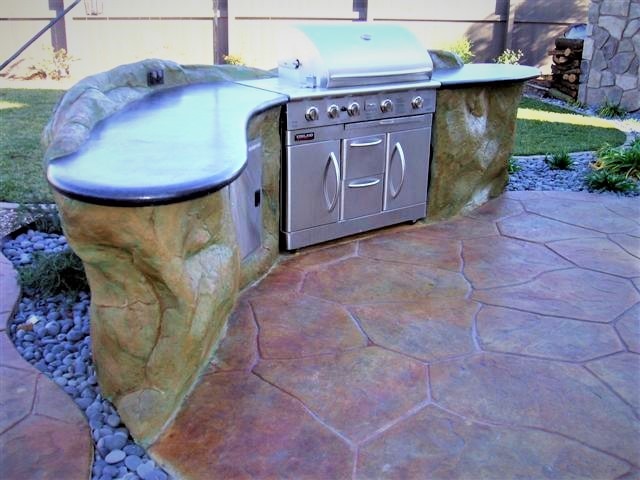 |  |  |
There are a lot of things you should consider before
adding an outdoor kitchen to your backyard oasis.
adding an outdoor kitchen to your backyard oasis.
5 things to think about before purchasing a BBQ island
| #1 - LOCATION Choosing the right location for your bbq island can make a big difference on how much it is enjoyed down the road. Depending on how much room you have in your yard there are a few things to consider. Quick access between the bbq and the kitchen is always nice. You're going to be running back and forth from the kitchen to the bbq so it would be nice to not have an obstacle course between the two. Also a line of sight from the kitchen to the bbq is always nice to watch the excess smoke and flare ups. | 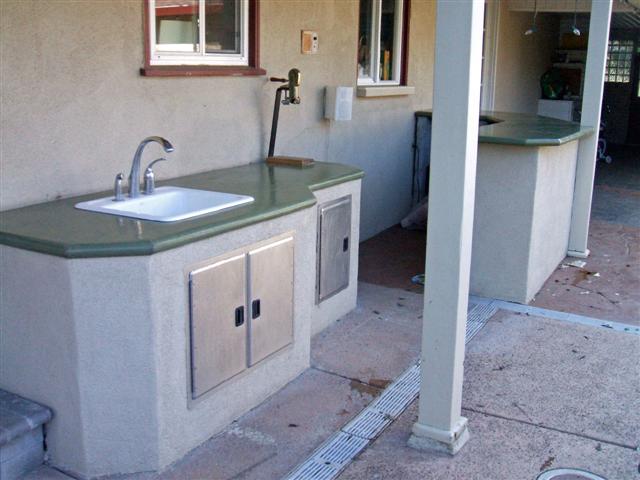 |
#2 - SAFETY
I know its not the top thing on your list, but its something that needs to be considered. As funny a story of 4 drunk guys putting out a fire on the back of your house is,
you just don't want to go there! Make sure it's away from any flammable structures. Make sure it's not in an area that kids might congregate. Try to limit the amount of obstacles between the island and the kitchen.
#3 - GATHERING PLACE
Whether you want it to be or not the smell of food on the grill or smoke from the smoker will draw people to it like a magnet. Try to have room around the island for people to hang out. Make sure they have room to set their drink and their massive cell phone!
Which brings me to my next "very important" point.
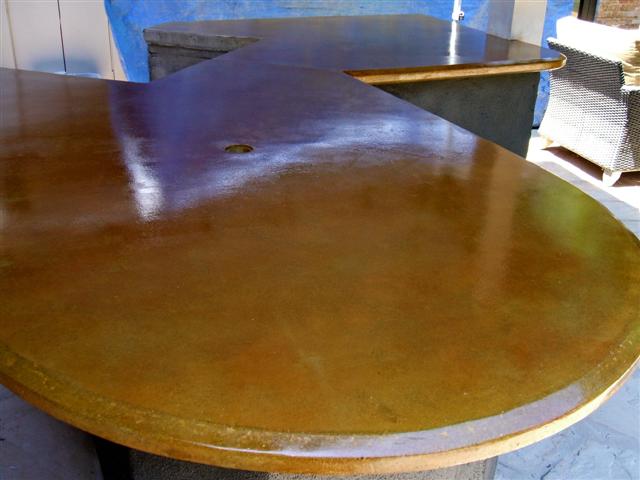
#4 - COUNTER-TOP SPACE
One thing commonly over looked. Carrying a 14 lb brisket out to your BBQ on a sheet pan, you are going to need somewhere to set it down before transferring it to the smoker. Even if just grilling some dogs, you are going to want to transfer them to a plate when they are done. BBQ sauce, aluminum foil, and on rare occasion you might have to set your beer down! Having that extra counter space can be a huge stress reliever.
One thing commonly over looked. Carrying a 14 lb brisket out to your BBQ on a sheet pan, you are going to need somewhere to set it down before transferring it to the smoker. Even if just grilling some dogs, you are going to want to transfer them to a plate when they are done. BBQ sauce, aluminum foil, and on rare occasion you might have to set your beer down! Having that extra counter space can be a huge stress reliever.
 |  |
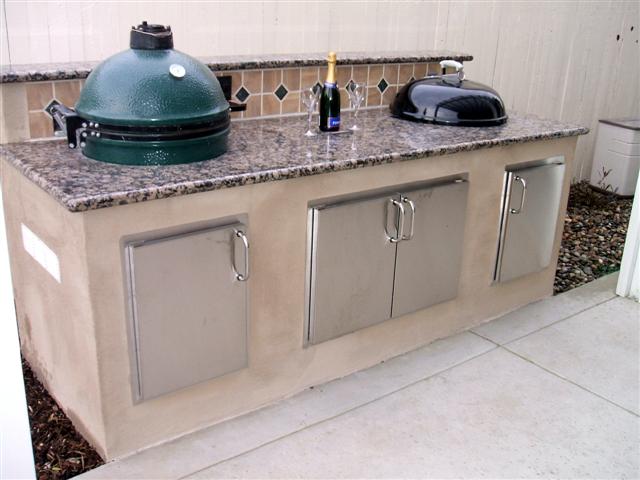
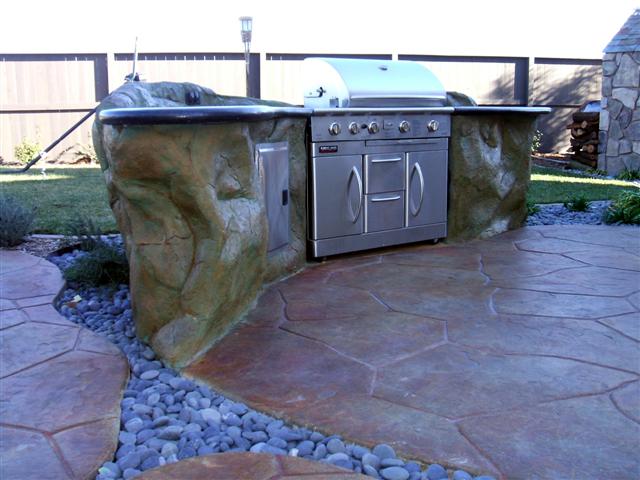
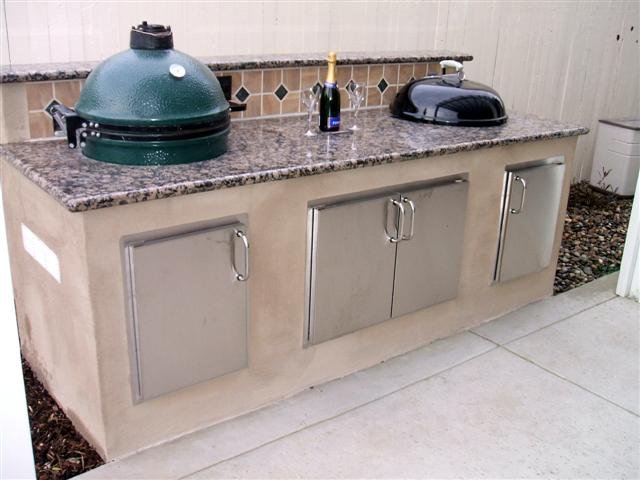
#5 - BARBECUE ISLAND EQUIPMENT
The list of BBQ equipment and BBQ accessories you can have on your island is pretty much endless. Even with the choice of grill. Gas grill, charcoal, rotisserie, smoker, flat top, even utilizing your own equipment . Think about the type of BBQ'n you like to do,
the type of BBQ you would like to learn and the people you usually cook for.
 |  |
Considering all the factors will make a big difference on your decision between
the barbecue island you dream of
and the one you really need.
the barbecue island you dream of
and the one you really need.
For more information about BBQ islands and BBQ island equipment,
bbqpete.com/bbqislands
bbqpete.com/bbqislands
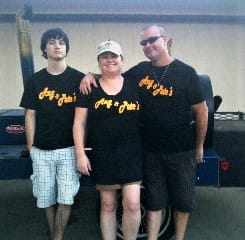
Since my wife Angela and I have recently become empty nesters, with one son in the Navy
and starting his own family and the other son moving to Japan to start his new life,
we have had to learn how to barbecue for two.
and starting his own family and the other son moving to Japan to start his new life,
we have had to learn how to barbecue for two.
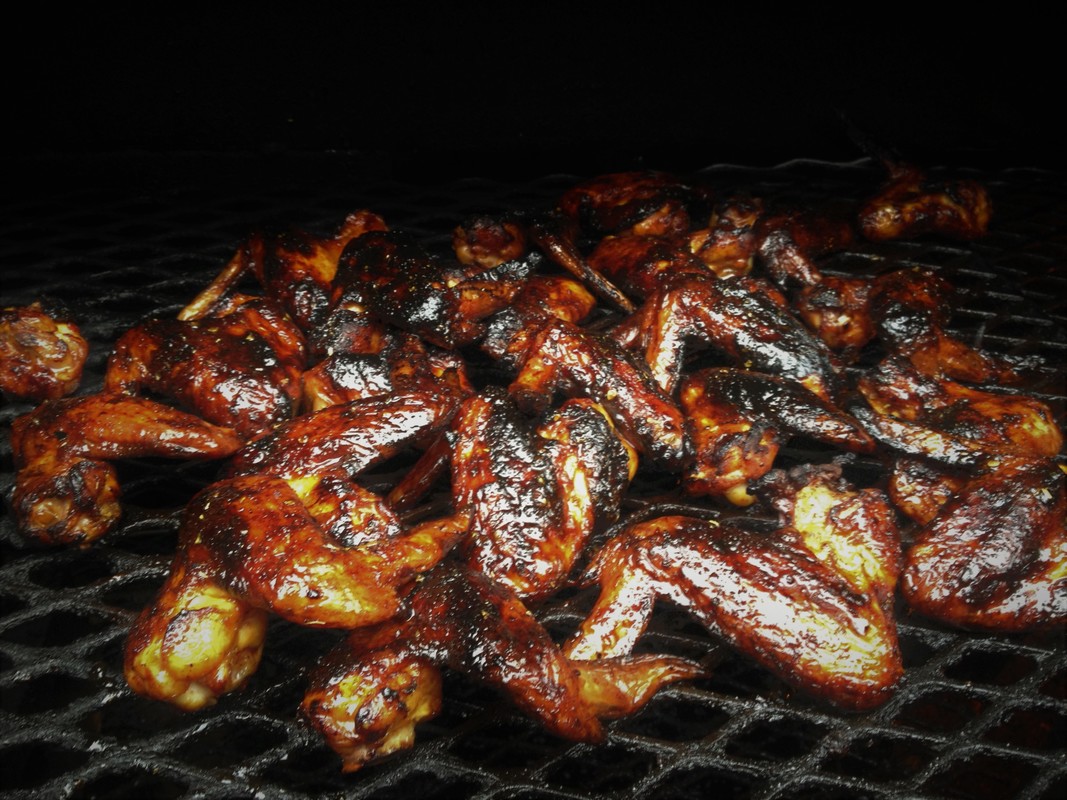
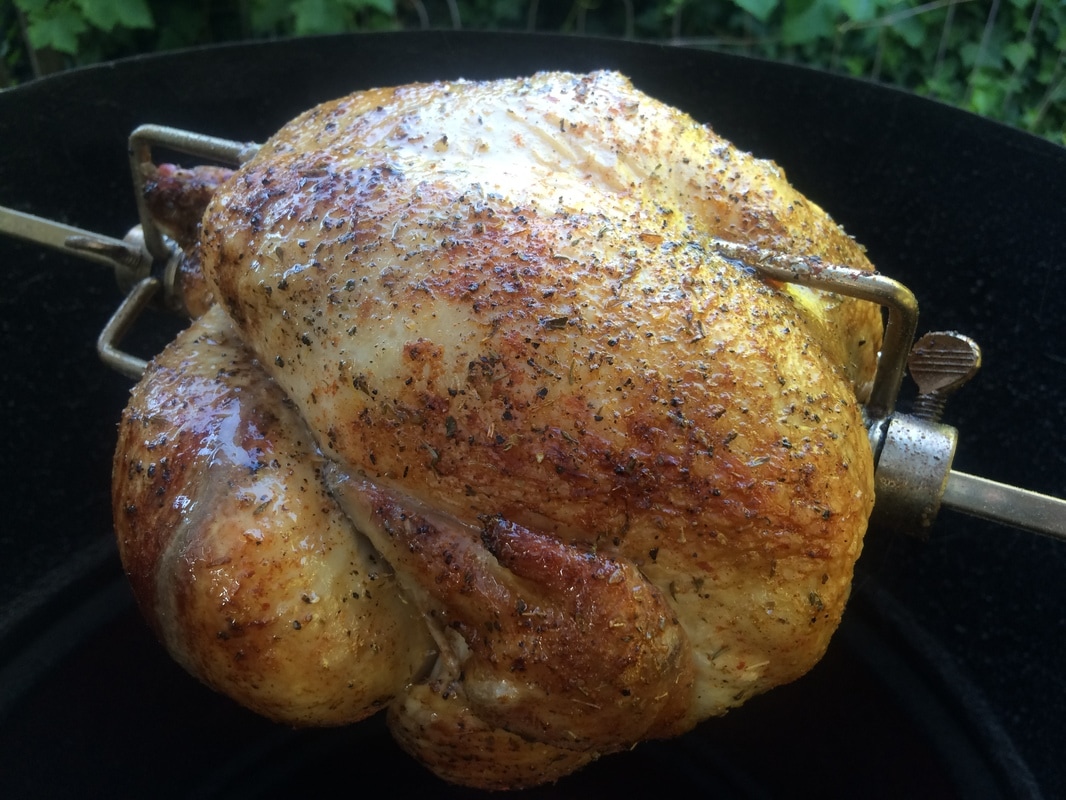
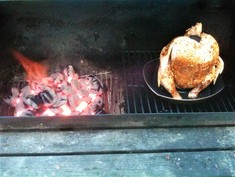
One of our favorite things to do on a Sunday afternoon is to barbecue a rotisserie chicken.
|
|
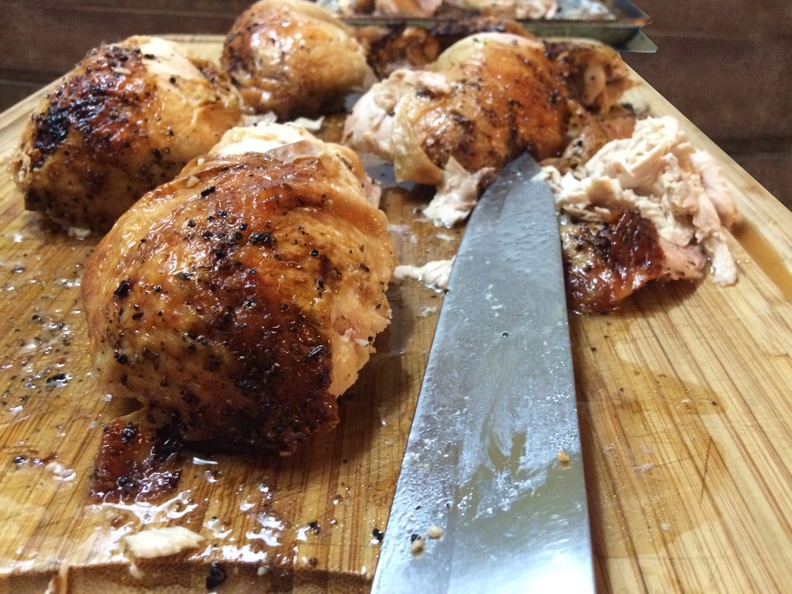
That one rotisserie chicken is plenty enough for my wife and I to have a nice Sunday dinner
and still have plenty of leftover barbecue for the next couple of days.
and still have plenty of leftover barbecue for the next couple of days.
|
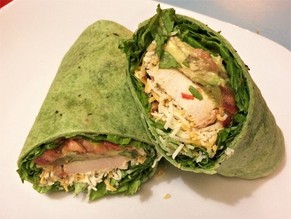
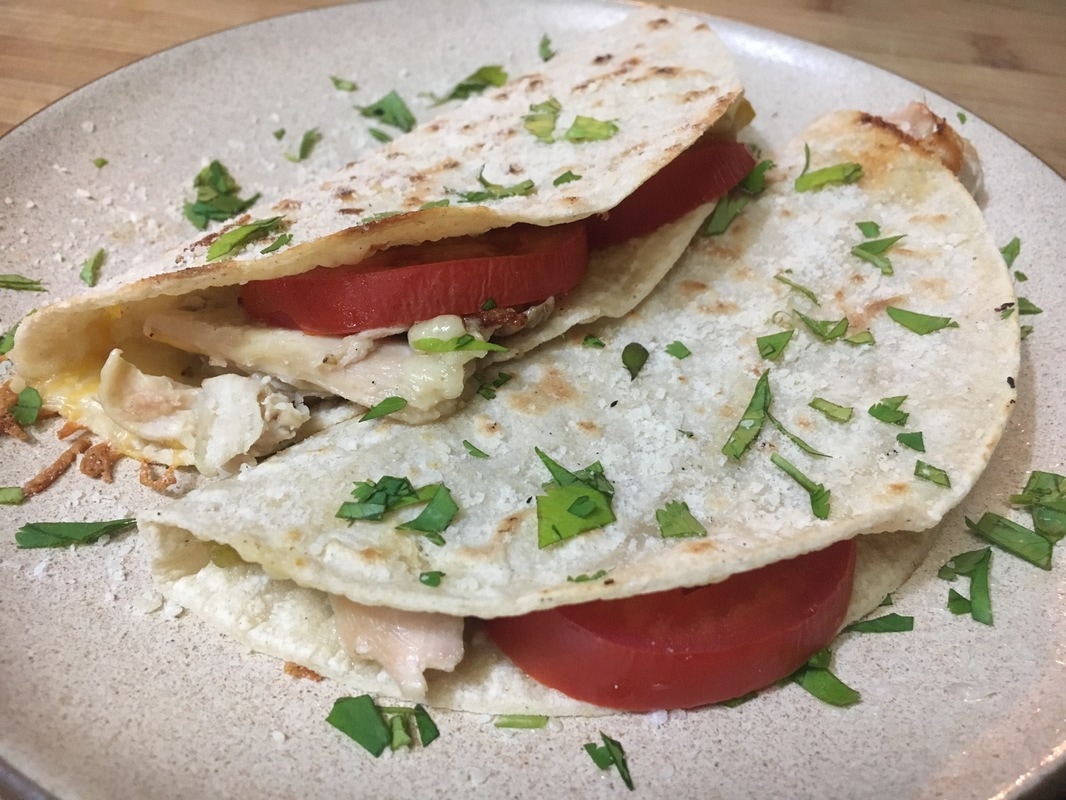
For lunches during the week we will have rotisserie chicken salad or chicken tortilla wraps.
Super simple and very healthy |
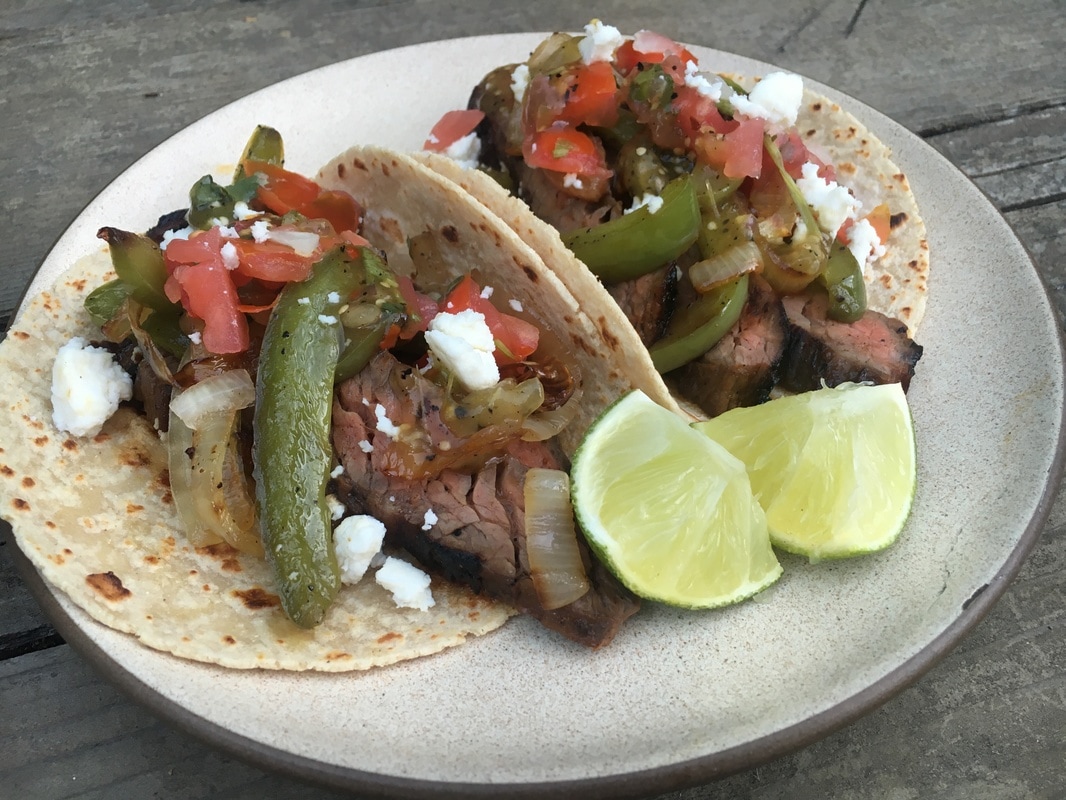
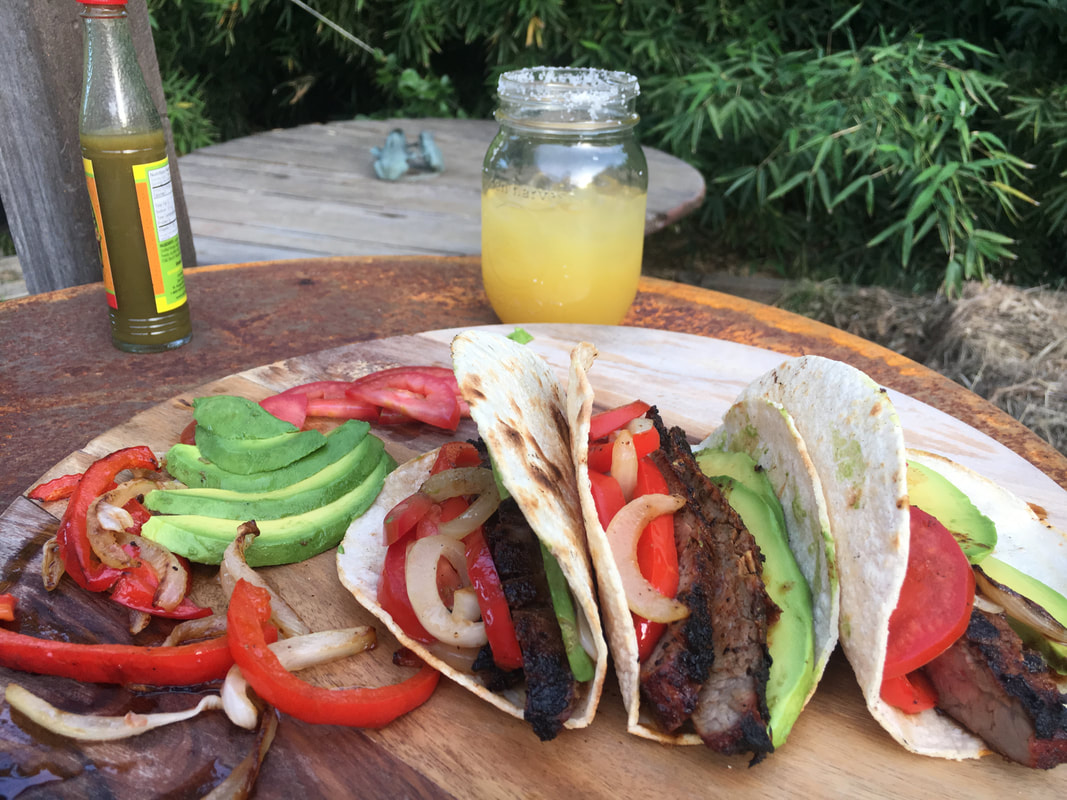
Monday night is usually "Taco Monday"!!!!
"Sorry Tuesday! "
"Sorry Tuesday! "
|
|
|
Chicken tacos are so easy and soooo grubbin and so simple.
Reheat some BBQ chicken by wrapping it tight in aluminum foil and putting it in the oven at 250 deg for about 20 min, or if you are feeling lazy like I usually am on a Monday night,
just throw it in the microwave for 30 sec or so until its warm.
Once it is warm, shred it, throw it on a warm tortilla with some tomato, avocado,
grilled peppers and onions, cheese, hot sauce, or whatever your favorite taco fixens are.
|
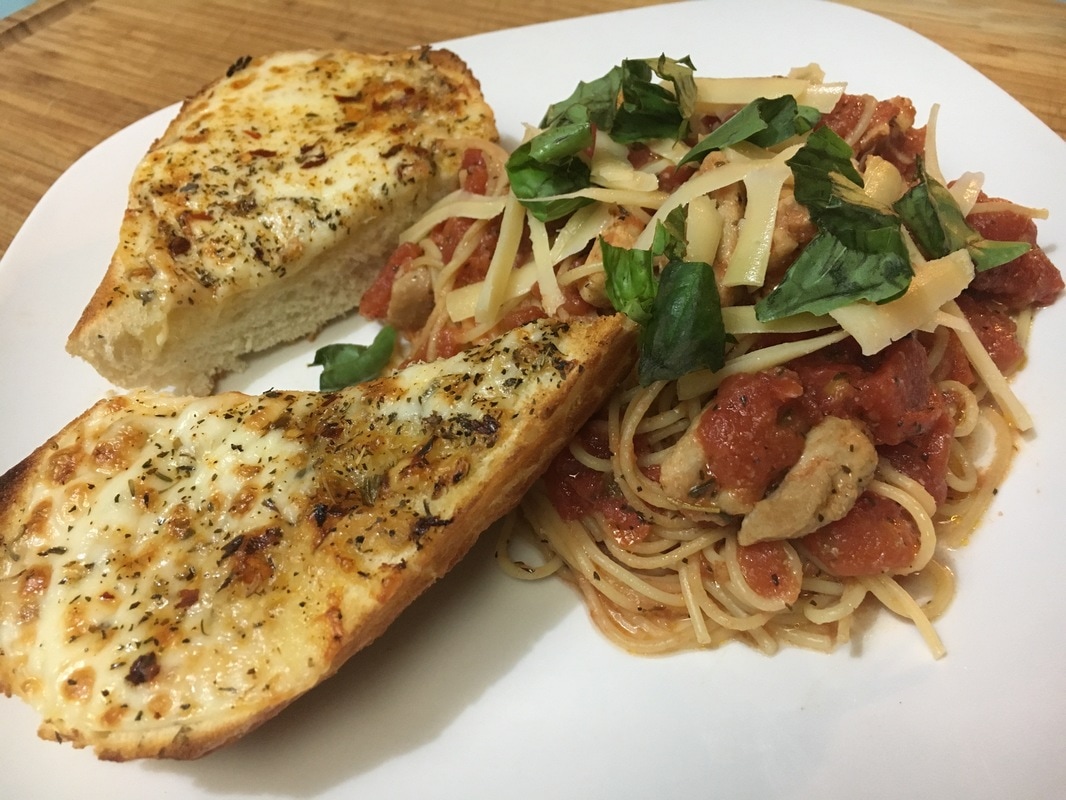
If I'm lucky on Tuesday Angela will make
chicken cacciatore. So good and so easy! Angela makes her home made marinara sauce and adds leftover chicken to it. Spoons it over pasta. Maybe some fresh parmesan and basil (if I'm lucky!!!) So simple yet sooooo yummy! |
|
Leftover rotisserie chicken is probably one of the most versatile leftovers to have in your fridge.
If you don't have a rotisserie for your grill,
there are many other options for barbecuing a whole chicken.
there are many other options for barbecuing a whole chicken.
|
Barbecue chicken also turns out fantastic on a kettle style grill, gas grill, or any other grill that can be set up for indirect grilling. Placing the chicken away from direct heat under a closed lid.
|
|
Water smokers or UDS drum style smokers also produce fantastic moist and tender barbecue chicken
|

|
 |
"Or you can just put it in the oven at 375 for an hour!"
....That's my wife's quote, not mine!
....That's my wife's quote, not mine!
For more about barbecue chicken,click here
Foot note..
Feel free to substitute the words "tri tip" for the work chicken anywhere is in this article :)
Feel free to substitute the words "tri tip" for the work chicken anywhere is in this article :)
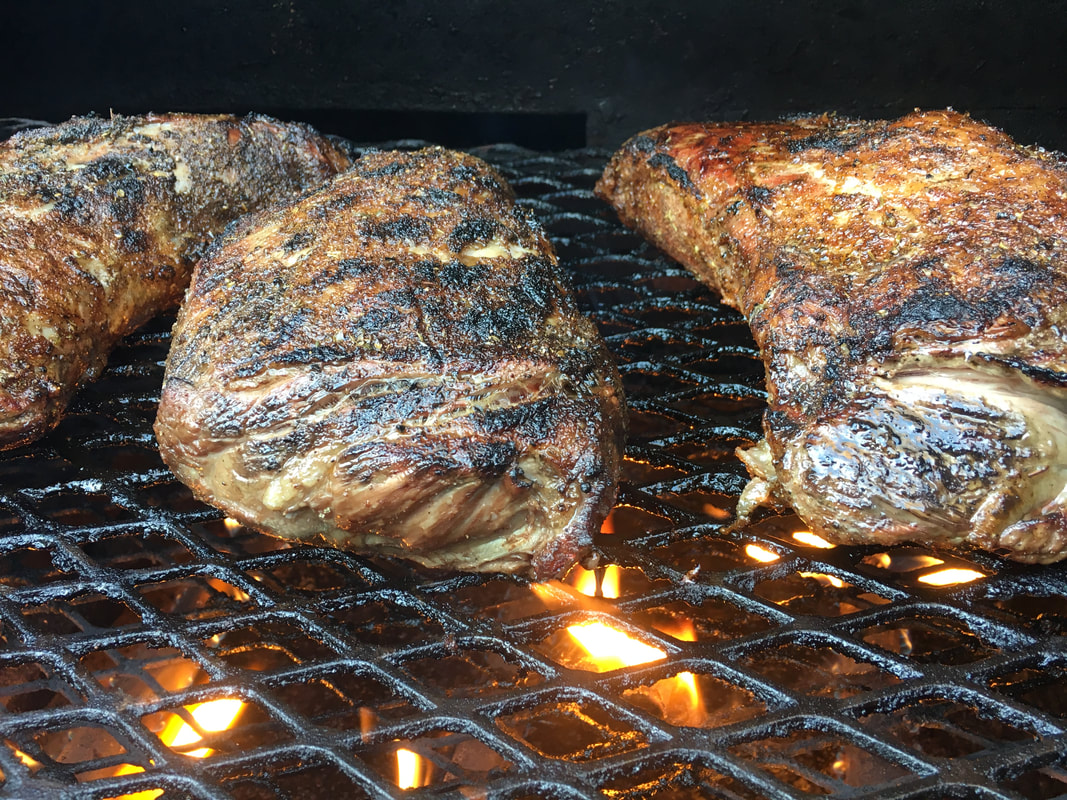
For more about barbecue tri tip,click here
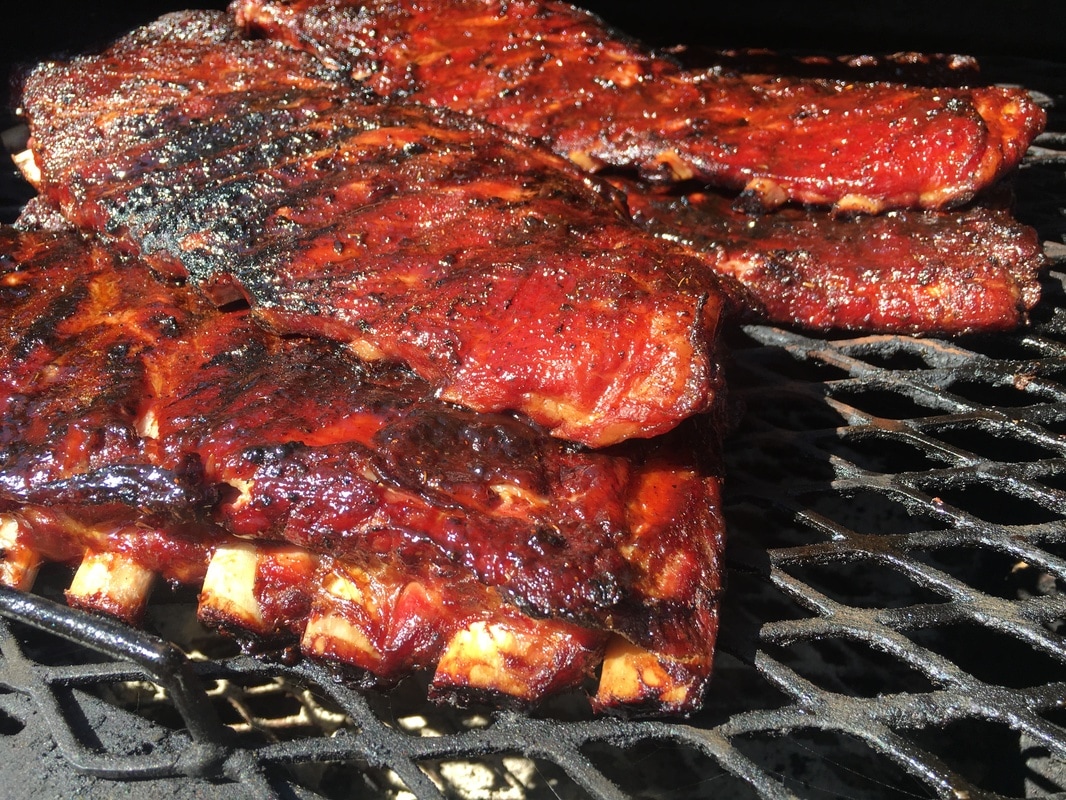 |  |  |
Learning the basics of how to barbecue ribs is a huge step towards
making a lot of people happy for many years to come
making a lot of people happy for many years to come
| Have you ever pre boiled your BBQ ribs? Trust me lots of us have before we learned how to do it the right way. What you like about the pre boiled BBQ ribs is the tenderness and simplicity of the process. Then you put your favorite BBQ sauce on it. Finish it on the grill to make it look fantastic! The one component you are missing is the flavor of the meat itself. This is where it becomes true barbecue. | 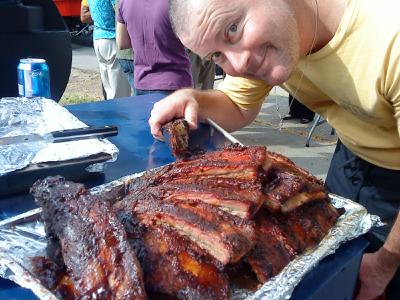 |
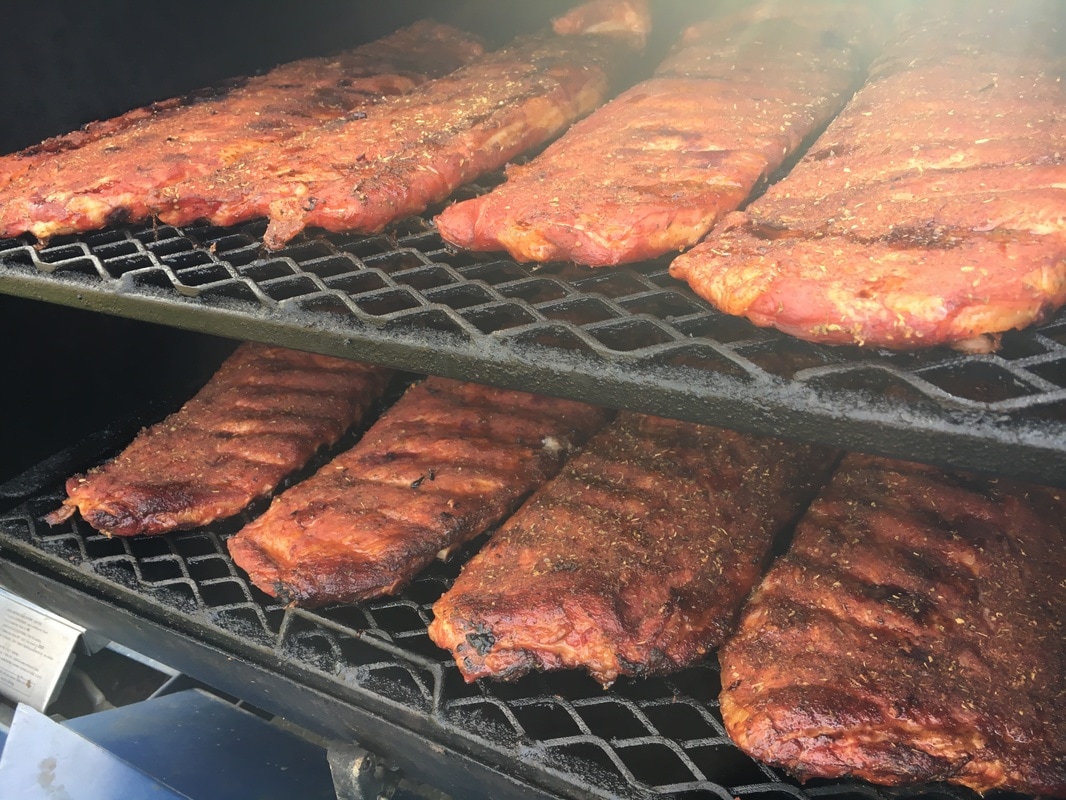
The low and slow barbecue cooking method, typically around 225 degrees, seals in the juices
while slowly tenderizing and cooking the meat.
Where as boiling actually draws out the juices leaving the meat somewhat flavorless.
You can always wrap the ribs in foil for a short time during the cooking process.
This will lightly steam them making them more tender without loosing the flavor.
This is known in barbecue nation as the "Texas crutch"
If you are comparing your barbecue ribs to the ones at your favorite barbecue joint or what you have seen on DDD, you have to realize that most of these people have very expensive equipment
and or have spent a lot of time perfecting their craft and understanding there equipment.
and or have spent a lot of time perfecting their craft and understanding there equipment.
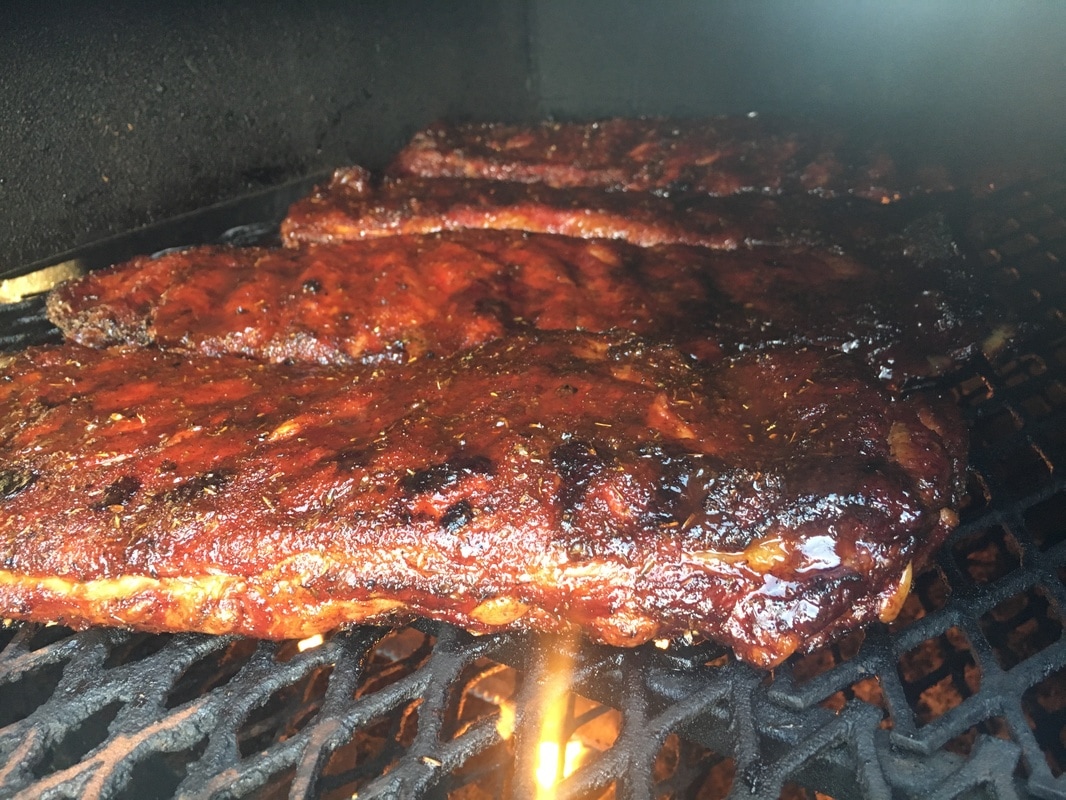
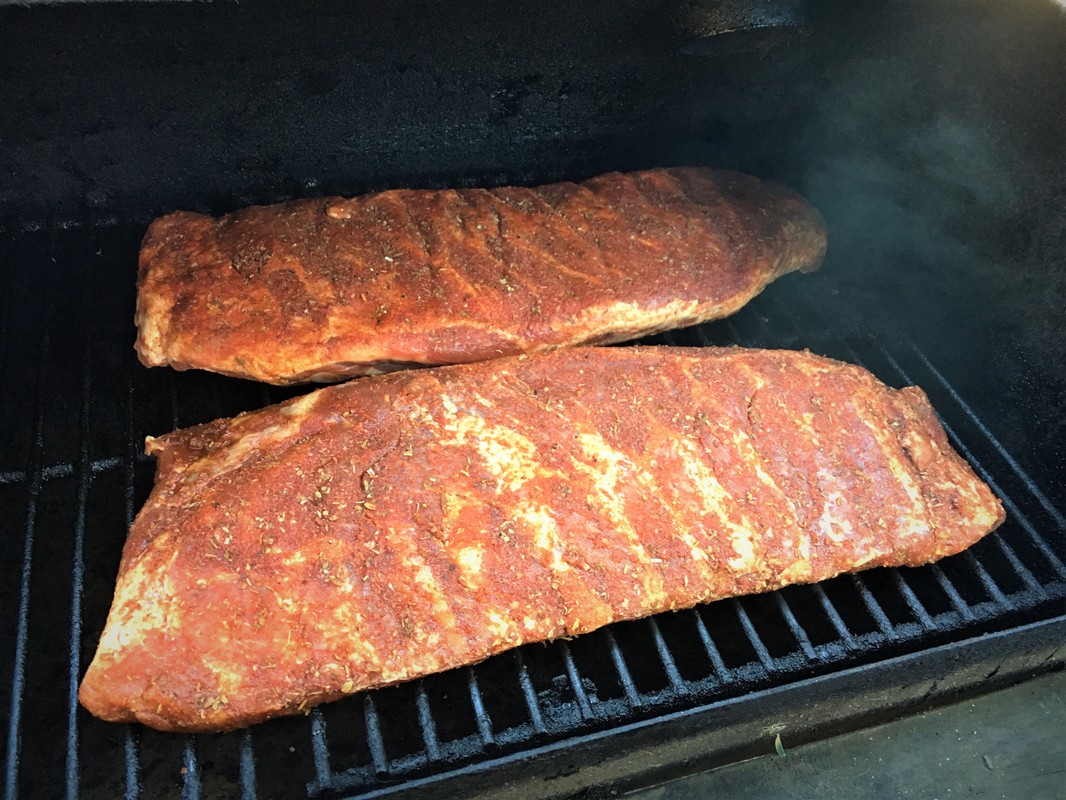
When first learning how to barbecue ribs I would recommend going with baby back ribs or loin backs. They are already a fairly tender cut of meat and don't require as much low slow smoking to make them tender. As far as the rub you can go with one of the thousands of really cool BBQ rubs on the market. Or you can use my basic BBQ rub. What i would really recommend is making your own basic BBQ rub with a few of your favorite flavors and spices. Start of with some brown sugar for the sweet.
It also helps with a good looking crust or bark. Then add a few of your favorite flavors.
My go to spices are granulated garlic, paprika and oregano.
It also helps with a good looking crust or bark. Then add a few of your favorite flavors.
My go to spices are granulated garlic, paprika and oregano.
Start with a simple BBQ rub, with less spices, then after the cook think about what could be added.
If you start with too many ingredients, it will be difficult to figure out what you need more of or less of.
You might even try smoking some "dry ribs" (without sauce). Dry barbecue ribs (or dry rub BBQ ribs) are actually traditional in parts of the country. They are typically served with the sauce on the side.
This allows you to taste the ribs without the BBQ sauce. This way you can get a better idea of what the spices you are using taste taste like with the meat.Use some basic spices and a basic barbecue sauce, then work on the technique.
"Learn how to use your equipment!"
You will win over more people with grubb'n simple well cooked barbecue than you will with exotic barbecue that is dry or over cooked. Instead of trying new recipes all the time try working on one basic recipe to perfect it. You will be amazed at what you can learn from just one BBQ recipe.
To learn more about barbecue ribs click here
There is a lot of rocket science out there about barbecuing and grilling.
You will find a thousand different people with a thousand different opinions of how to barbecue.
Which can make it a bit difficult to get started
You will find a thousand different people with a thousand different opinions of how to barbecue.
Which can make it a bit difficult to get started
 | We learned how to barbecue through many years of trial and error.I couldn't even begin to tell you how many meals we ruined over the years. From dried up tough barbecue ribs to burnt to a crisp grilled chicken. Meals that were so over spiced that no one would attempt to eat it. How many times we have spent hours in the kitchen and at the grill, only to end up ordering pizza! I LOVE PIZZA!!! |
I think the most important thing when it comes to barbecuing is having the the proper smoker or grill and learning how to use it.
Every BBQ is different, trust me, I have about 13 of them and they are all different.
I have to strongly enforce that fact to my wife every time I bring home a new one
so she doesn't kill me!
Every BBQ is different, trust me, I have about 13 of them and they are all different.
I have to strongly enforce that fact to my wife every time I bring home a new one
so she doesn't kill me!
If you are wanting to learn how to barbecue,
you want to make sure you have the right equipment.
you want to make sure you have the right equipment.
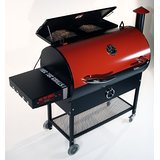
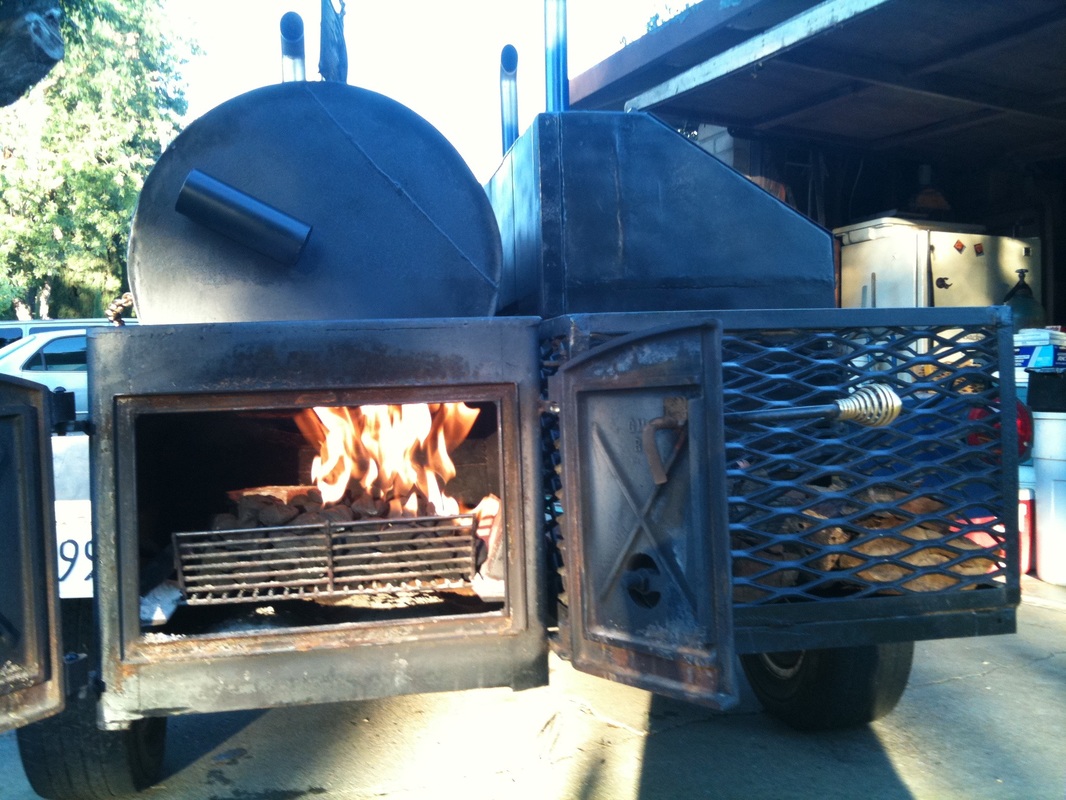
Offset barrel smokers are great for low and slow authentic BBQ. With the heat source in a separate chamber, away from the meat, it makes it very easy to control the temperature and smoke for an extended amount of time. The rectangular shaped grates are perfect for laying out racks of ribs.
 This one has been my go to for about 12 years now. I call her "Linda!!!" | 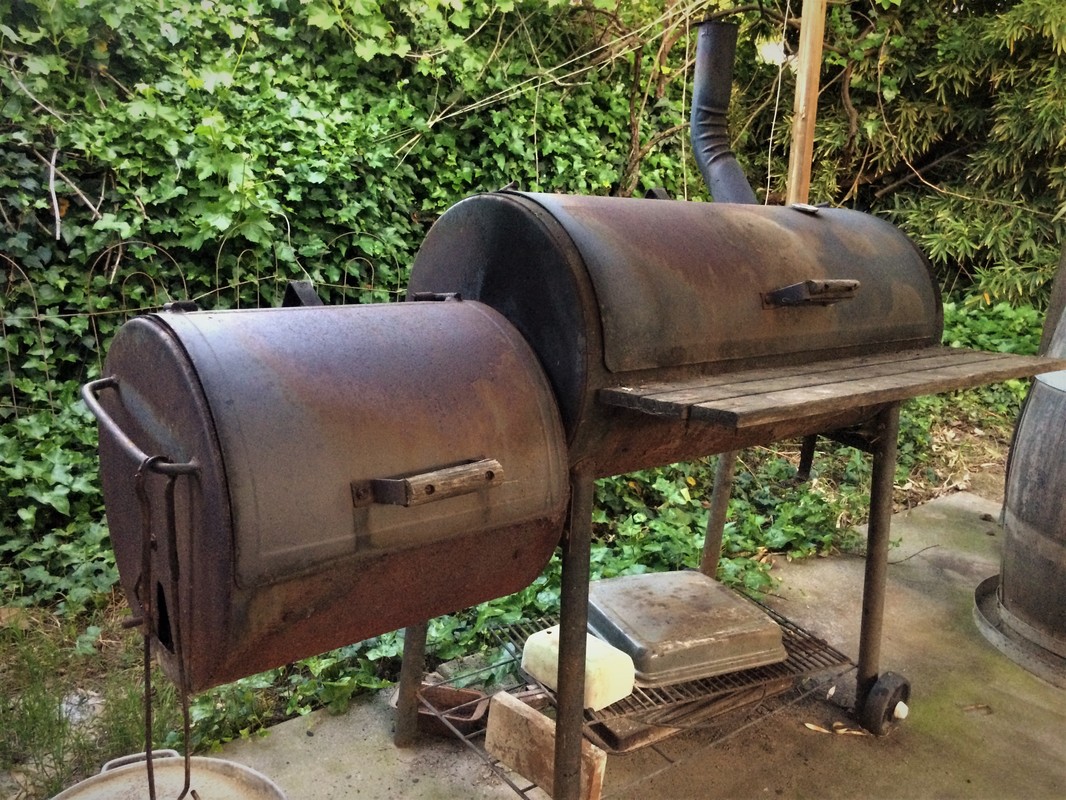 |
The vertical smoker, water smoker, or "Bullet smoker", is another fantastic cooker for BBQ'n
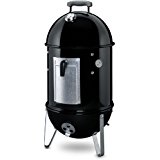 | With the heat source at the bottom, water pan in the middle and the meat on top it creates an indirect heat that completely surrounds the meat. Perfect for things like chicken, turkey and pulled pork. |
The round grates make them not as convenient for cooking ribs but they do come in many different sizes, all the way up to the 55 gallon UDS BBQ
| OK, I built this one myself from scratch... 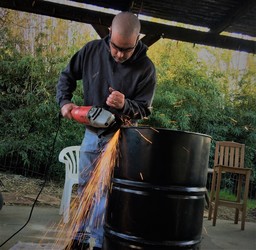 But they can be purchased. Just probably not as cool as this one!! |  |
If you really want a no brainer temperature controlled smoker you can get a pellet smoker
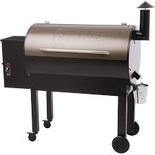 |  | 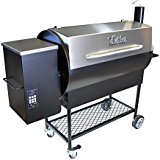 |
They are electric smokers that are fed with wood pellets. You fill the pellet box, set the temperature turn it on and go crack a beer. The pellets are automatically fed into the heat box slowly giving you a precise amount of smoke and heat for the entire cook. Takes a bit of the fun out of it in my opinion, but I bet they turn out some pretty grubbin BBQ. Being able to duplicate the exact heat and smoke every time would make it a heck of a lot easier to fine tune and perfect your results!
There is nothing wrong with gas grills or Weber Kettle style grills. Trust me I have several of each.
But if you really want to start cooking authentic low and slow bbq you should get a good smoker.
It will make all the difference in the world.
But if you really want to start cooking authentic low and slow bbq you should get a good smoker.
It will make all the difference in the world.
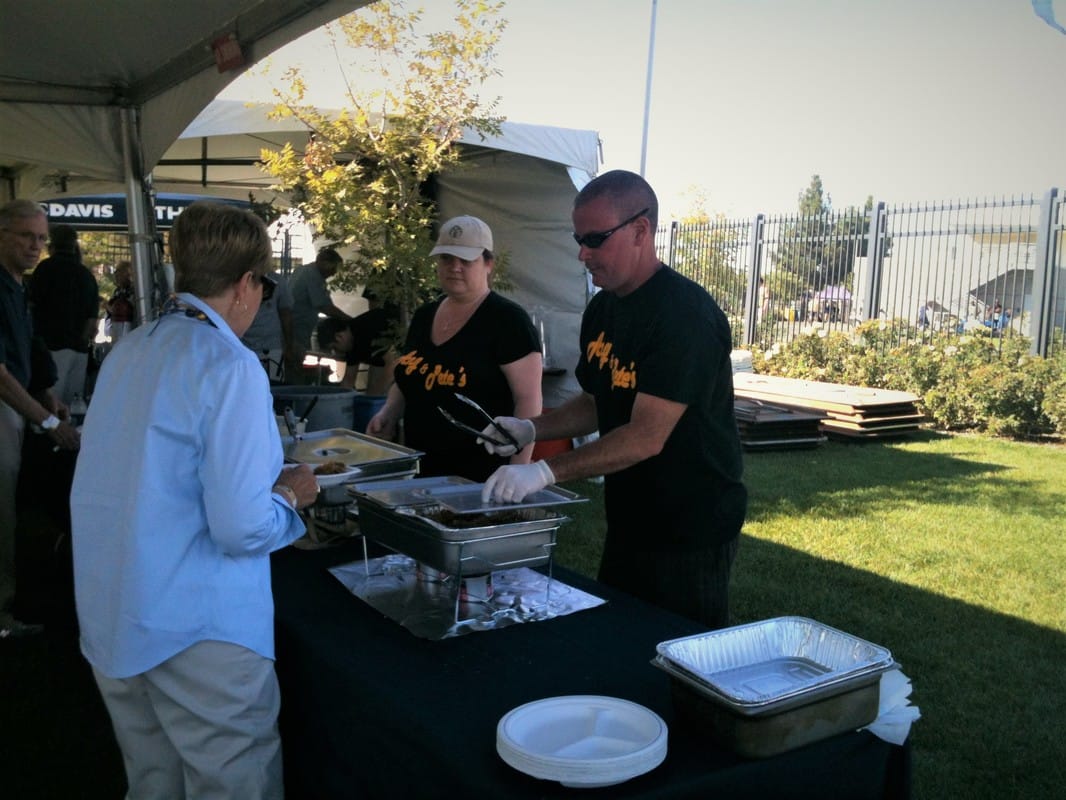
Hosting a large or even small group of people for an event can be a bit stressful.
My wife and I have hosted quite a few football Sundays
and weekend BBQ's over the years as well as owning our own BBQ catering company
My wife and I have hosted quite a few football Sundays
and weekend BBQ's over the years as well as owning our own BBQ catering company
 |  |  |
Here are a few of the many things we have learned over the years about hosting a BBQ party
Timing is crucial
Although typically not so crucial in our house
Some of the people will show up much later than expected, while others are busy yelling at the football game on TV and chasing their kids and or dogs around the house. Quite often people will show up that we weren't expecting or that we have never even met. "The more the merrier"
That being said, having food ready when you told people it would be, or at least somewhat close,
is always a good thing, weather you're hosting a casual BBQ or a formal holliday dinner
is always a good thing, weather you're hosting a casual BBQ or a formal holliday dinner
- Remember to set aside time in the morning to eat something, have a cup of joe, mimosa, bloody mary, or whatever you do to kick start your day. So many times my wife and I have finished an entire day of catering or hosting only to realize we have both forgotten to eat. Not good!
- Figure out your timing the day before. Things like; how long is that roast going to take to cook? Remember to add time to prep before and time to rest and carve after cooking.
- Remember that your kitchen will be invaded during the event making it even more difficult to get things done. So the more you have prepared before hand the better.
- Having appetizers even as simple as just chips and salsa strategically placed away from the kitchen or BBQ island will help keep the masses out of your work zone.
- Anything that can be done the day before DO IT! Chopping veggies, rubbing or marinating the meat, setting up the BBQ.
- If you're hosting a BBQ and there is even a remote chance that there will be kids present, have a pack of hot dogs and some buns on hand. Have a pack of veggie dogs as well.
- Have some to go containers on hand as well so you don't have to worry about never seeing your favorite tupperware again.
Being more prepared will give you more time to spend with friends and family and just plain enjoy the day
Or more time listening to your drunk uncle's inappropriate jokes
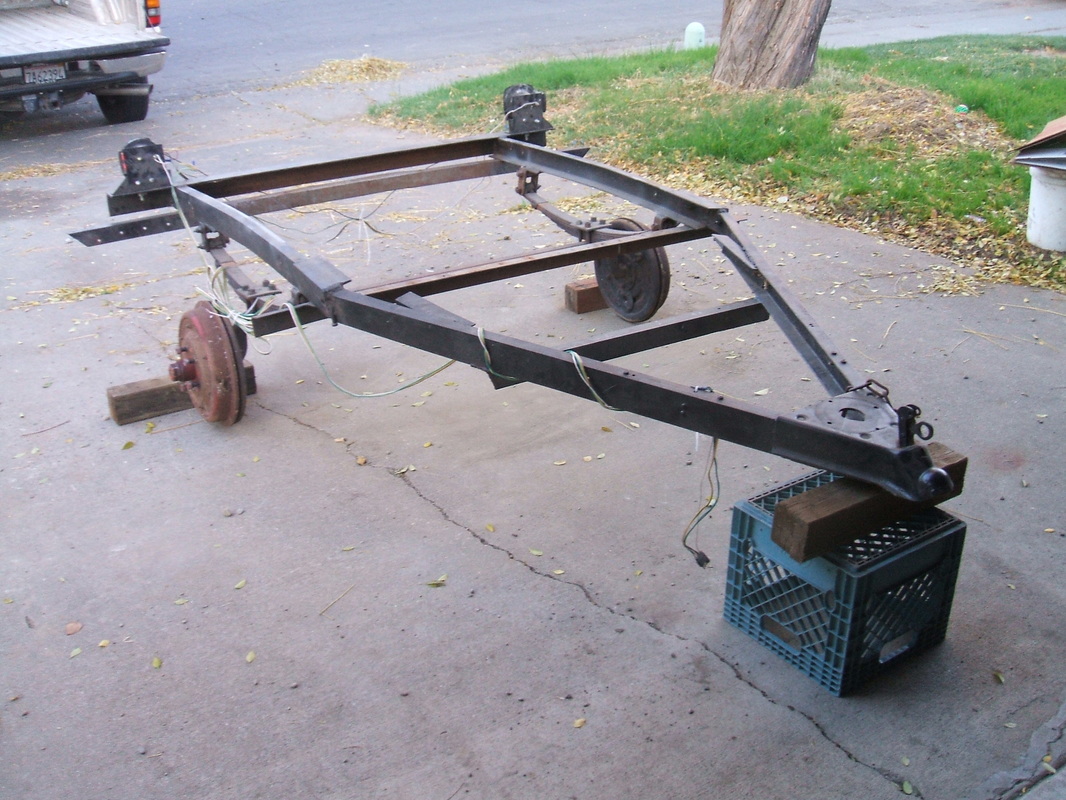
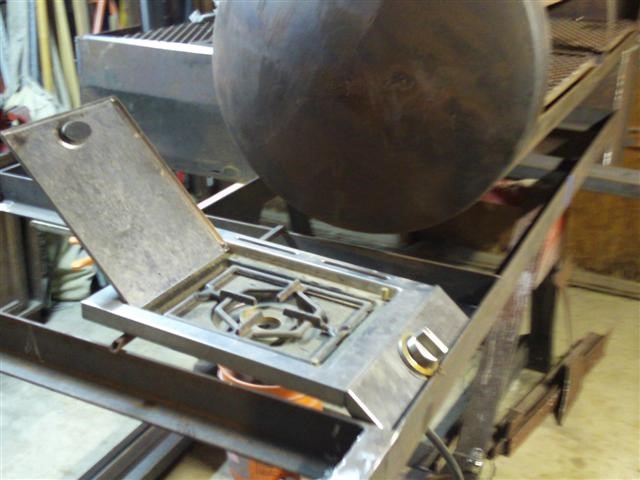
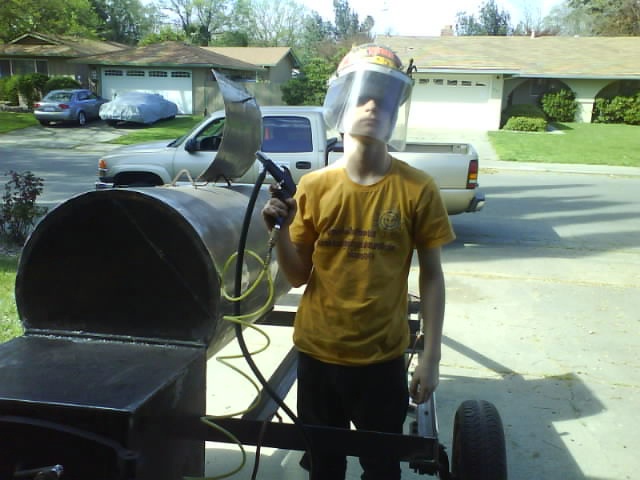
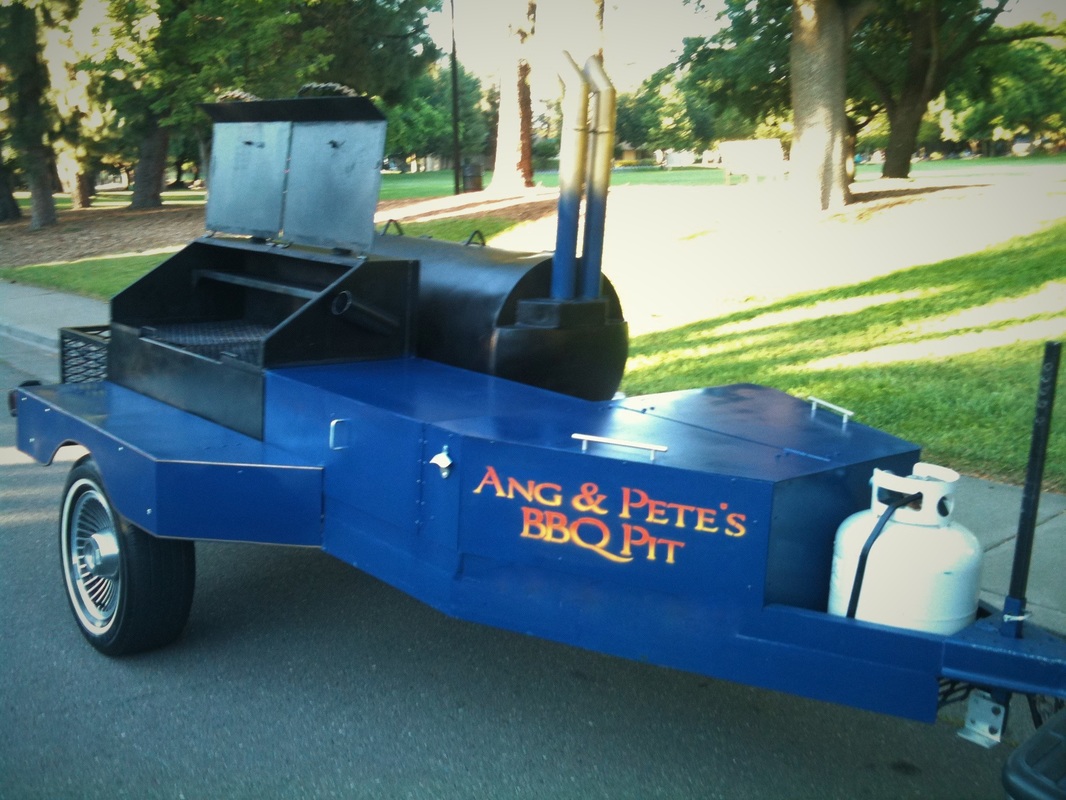
The second I saw that barrel lying in the scrap pile I said to myself... "That looks like BBQ"
 |  |
I was lucky enough to have a best friend Arty who was a welder and a craftsman. It took quite a bit of ingenuity and crafty thinking. Oh and many slightly late nights standing in the garage with beer in hand and saying, "wait! what if we did this?"
 | 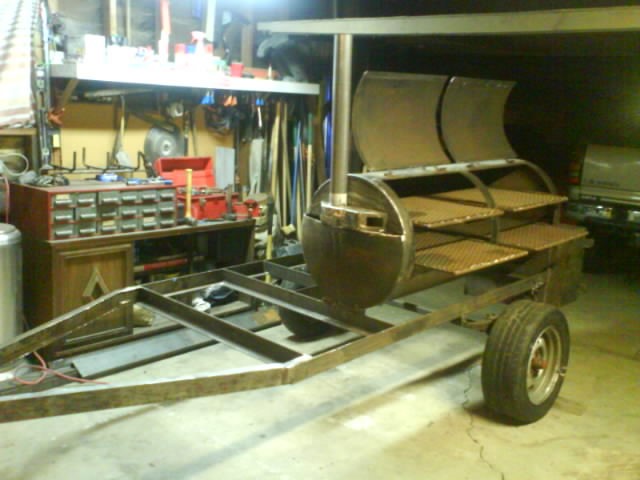 | 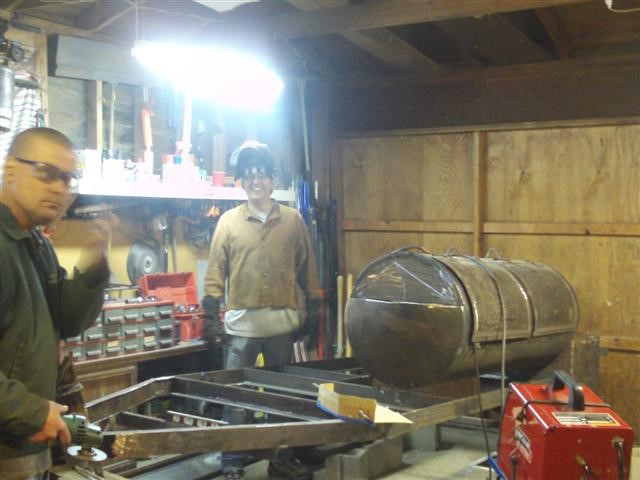 |
The majority of the materials used to build the smoker were either recycled or donated.I think the most money spent was for the cans of spray pain used in the custom paint job. The entire BBQ trailer had to be designed around the pieces we would find. Needless to say, the design changed
about a thousand times!
about a thousand times!
 |  | 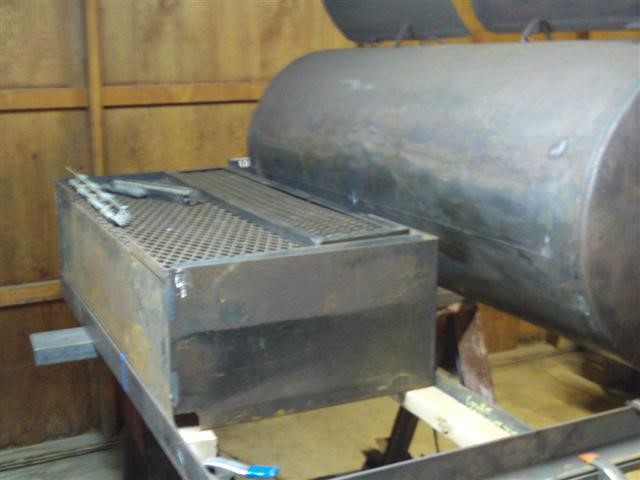 |
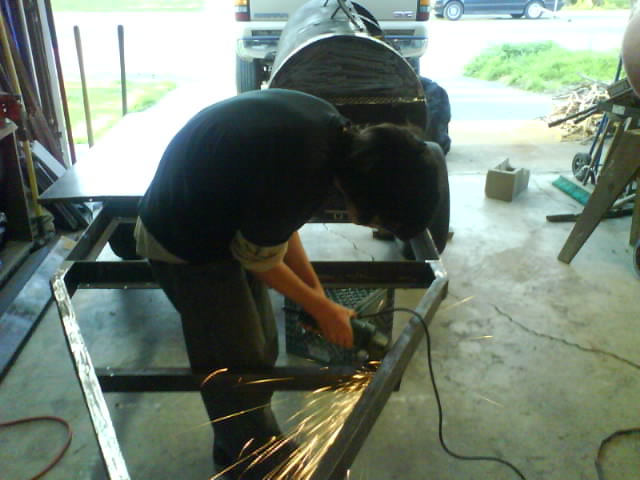
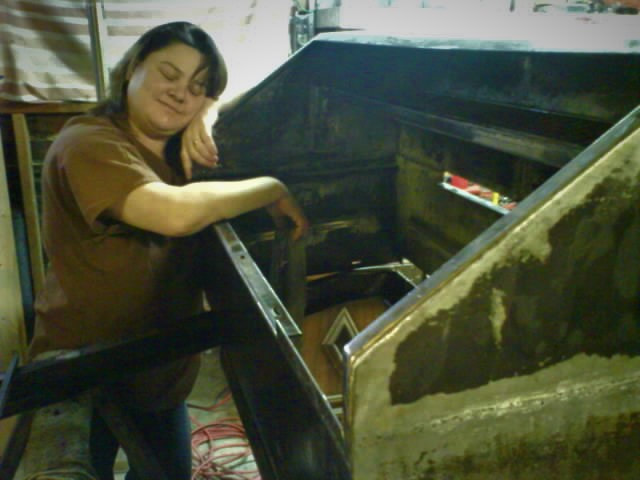
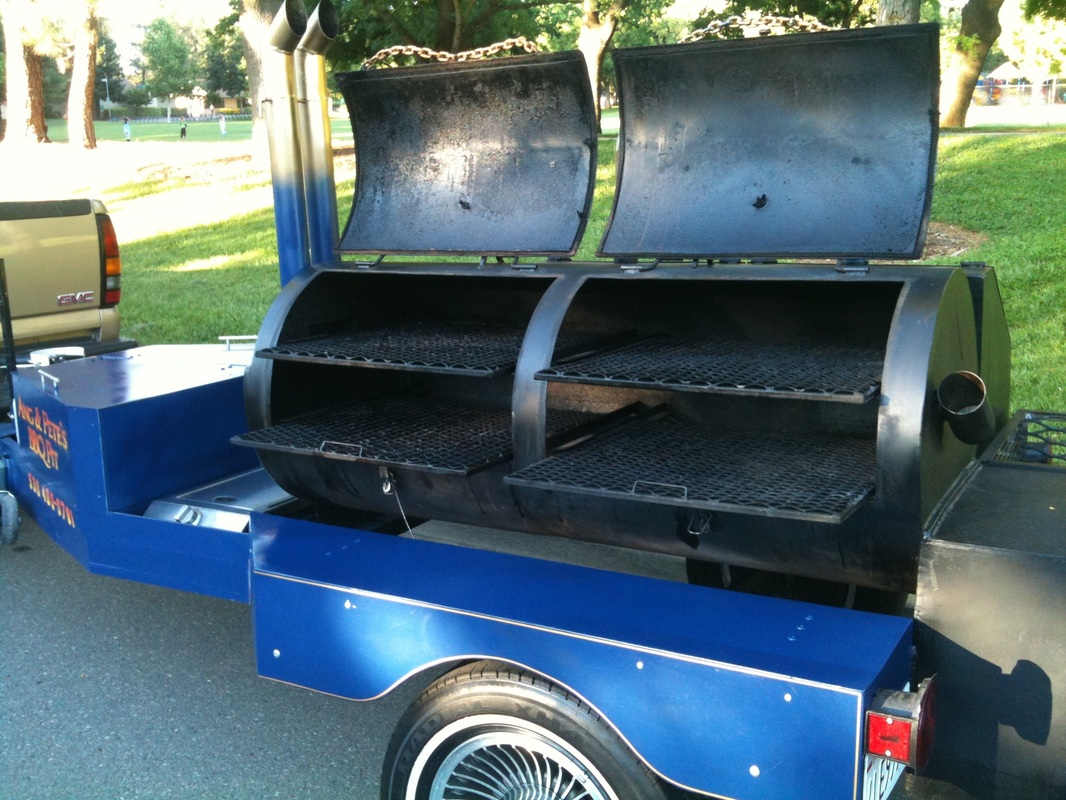
It was a huge family effort that turned out awesome!
 |  |  |
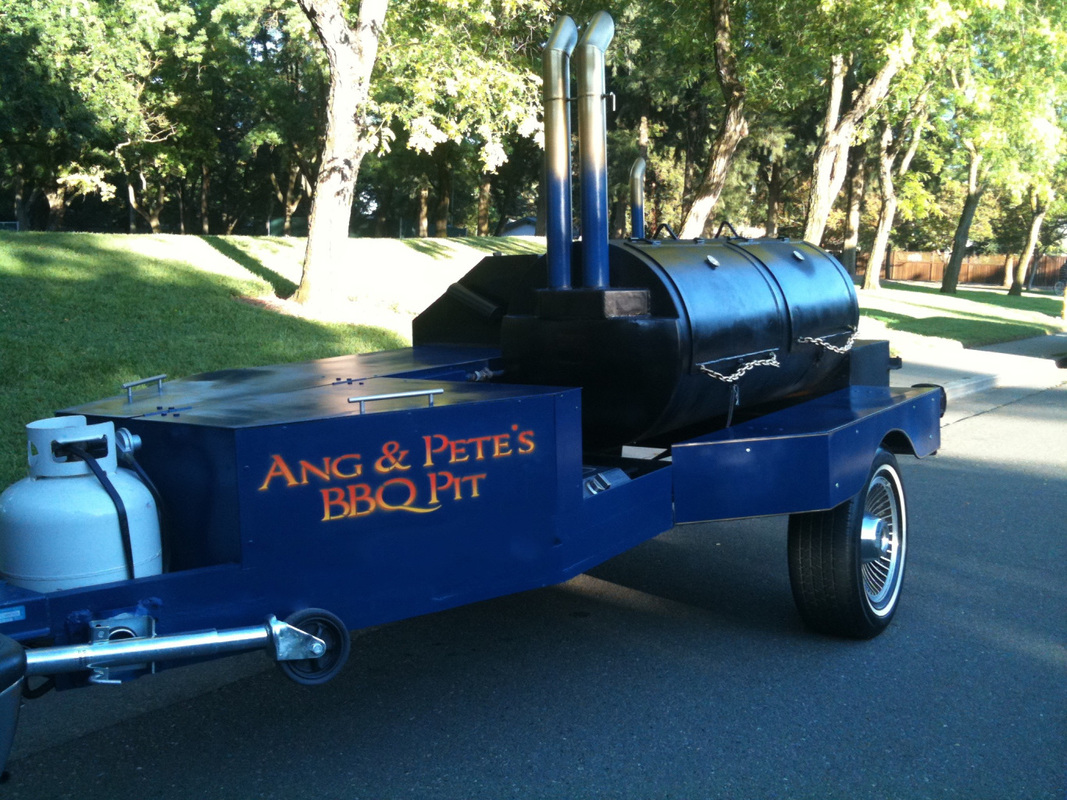
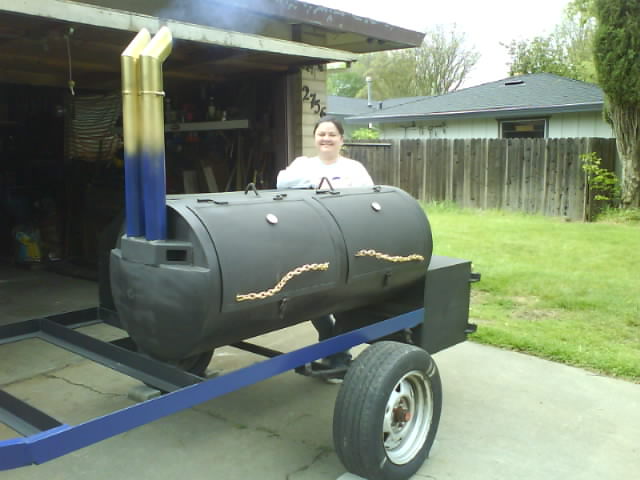
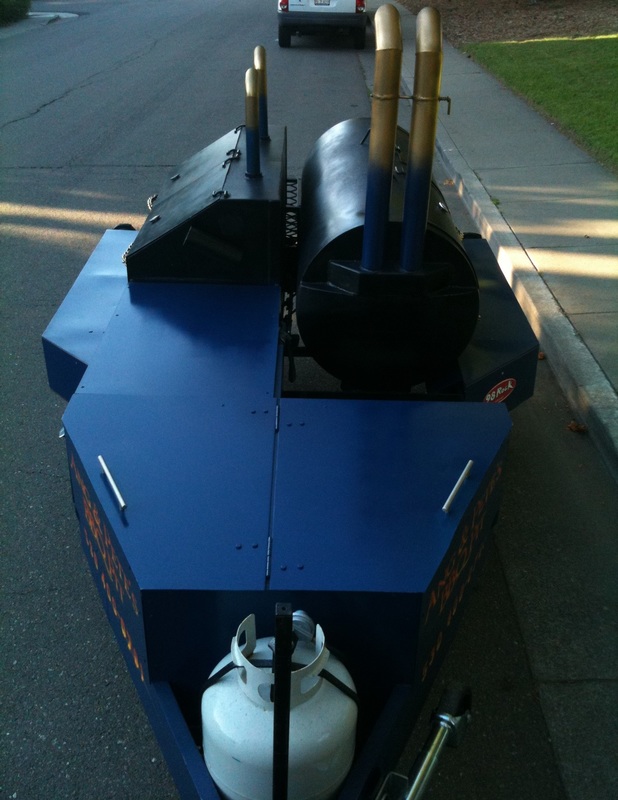
We were having trouble coming up with a paint scheme for the BBQ trailer. So we asked our oldest son Michael, who was deployed with the Navy at the time, and he said
"Duh ... Blue and Gold. Navy colors!" So blue and gold it is. And we love it!
"Duh ... Blue and Gold. Navy colors!" So blue and gold it is. And we love it!
So about a year and a half later we had the BBQ trailer!
 |   |   |
Our very good friends Linda and Eddie came over the other night. They were so excited to check out my new website. At one point, while clicking through the site , Linda yelled out
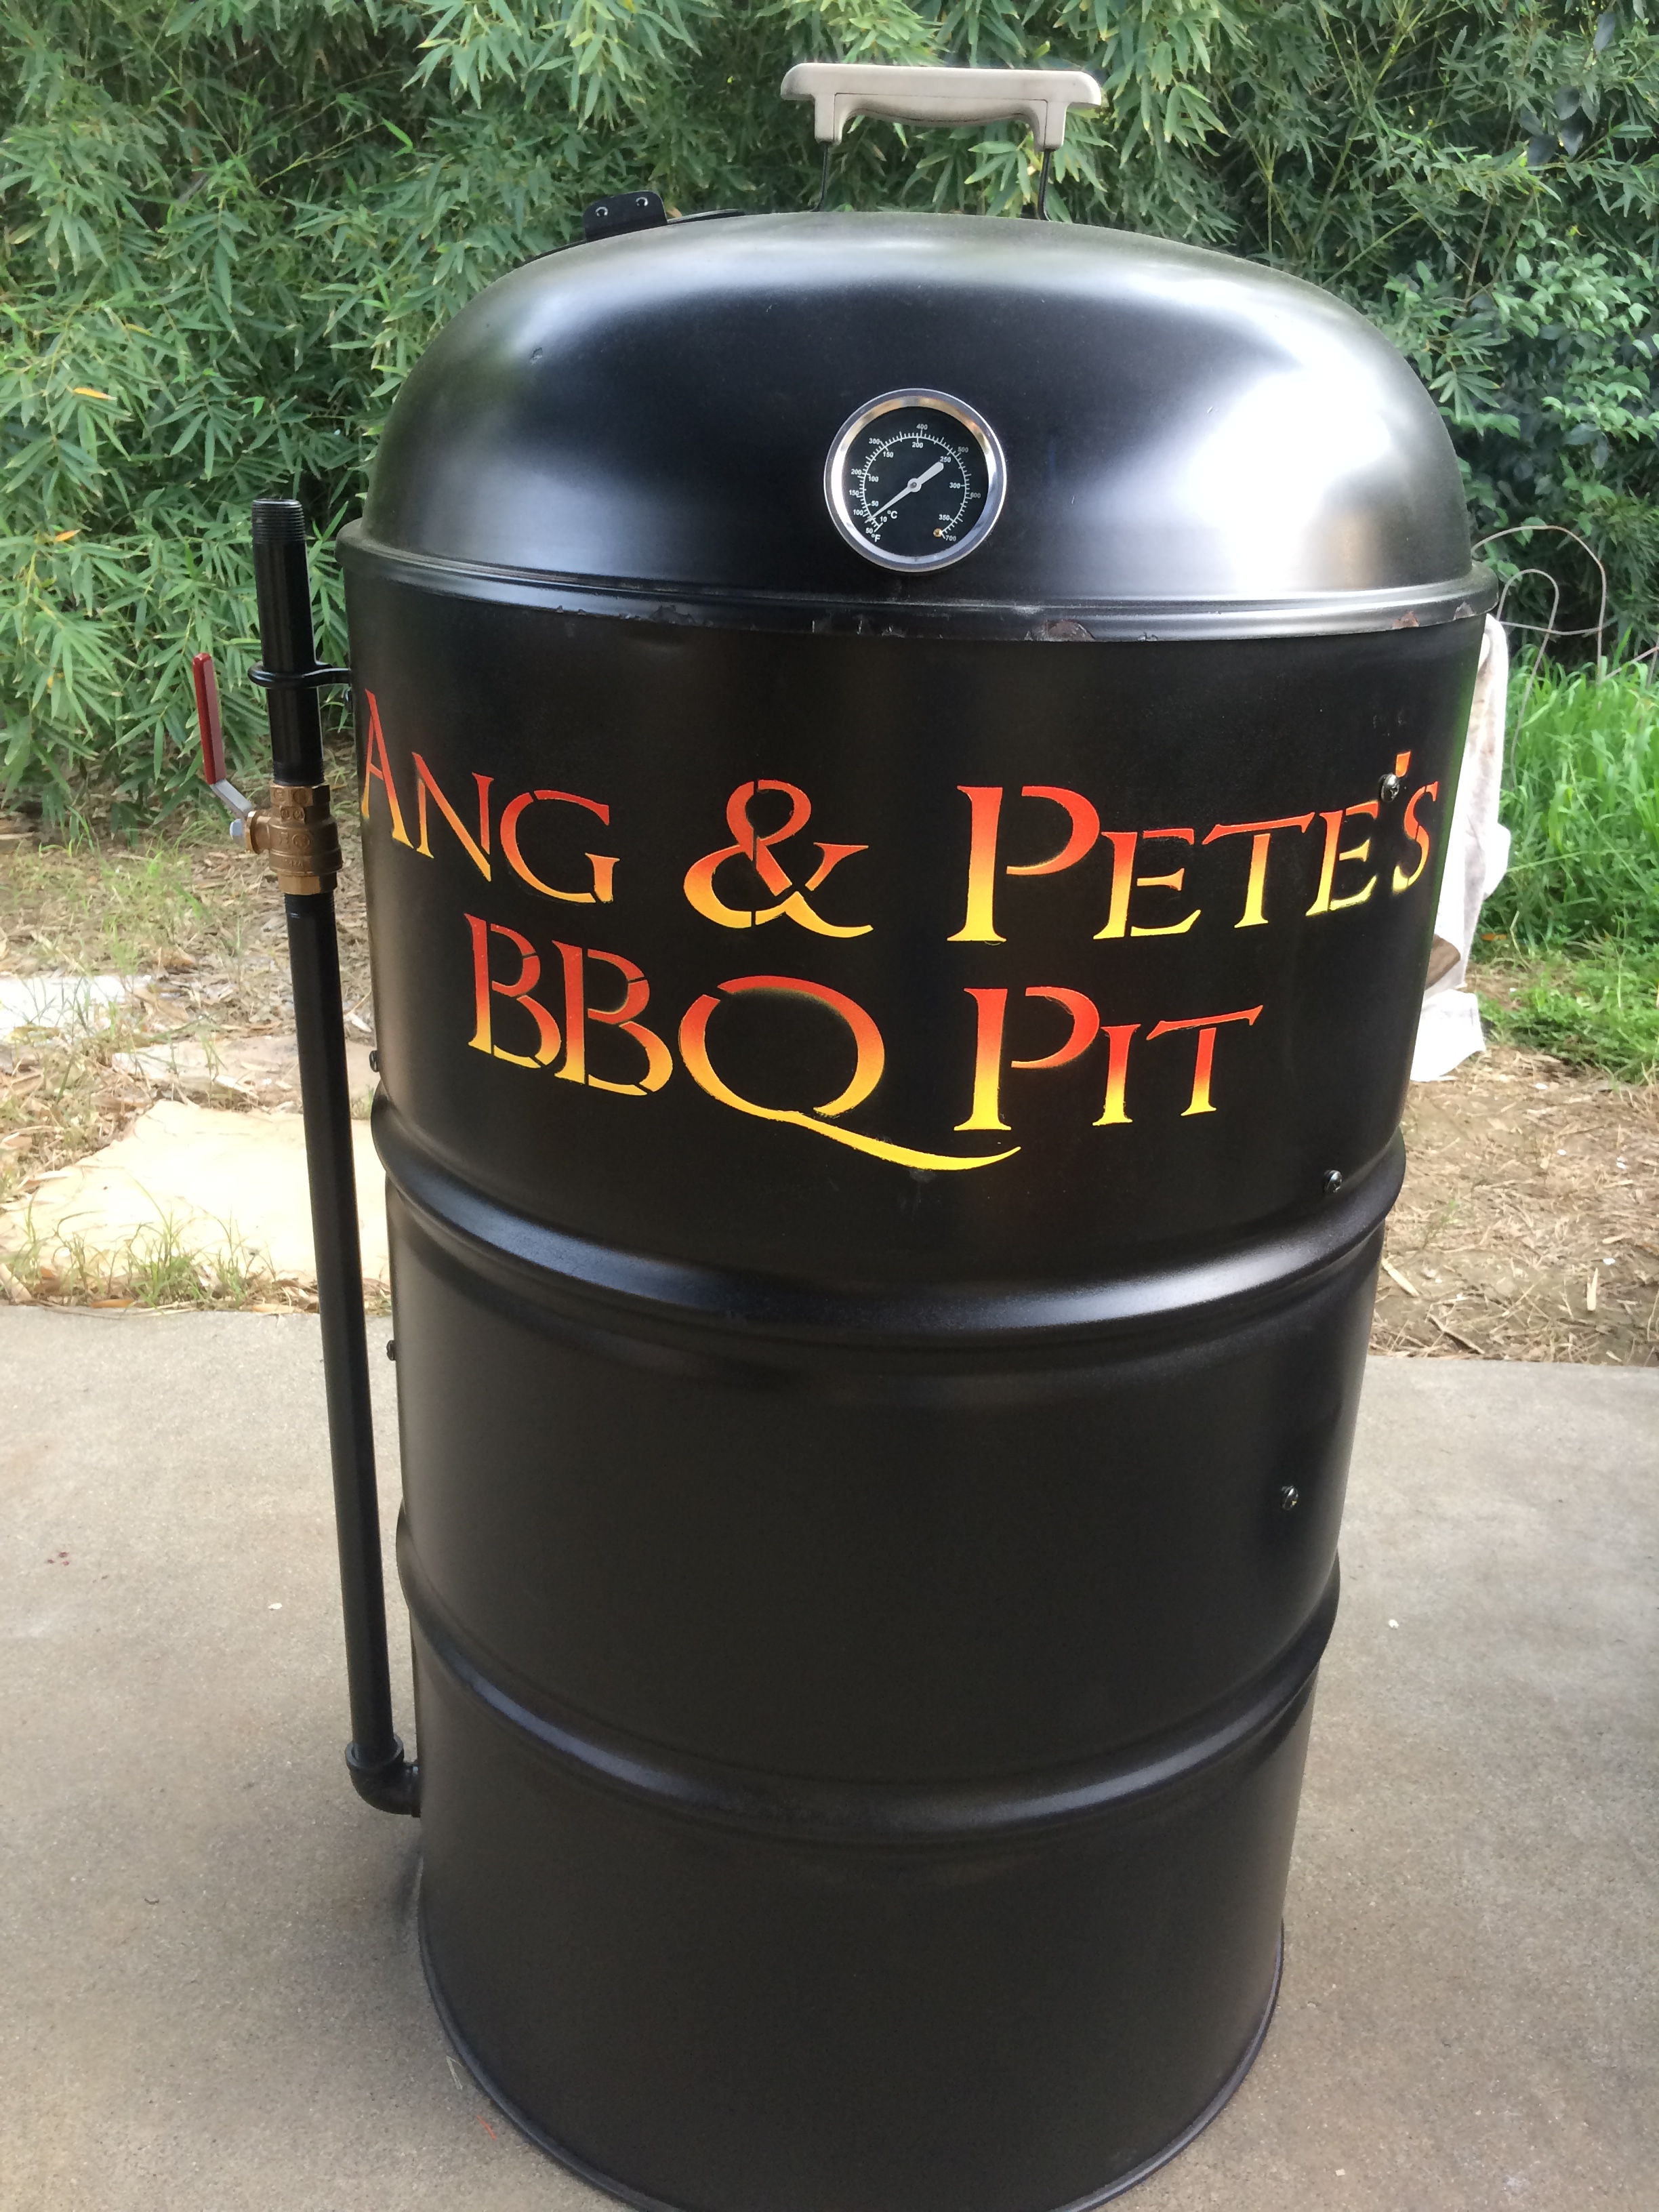
" What the F#%K is a UDS?" Which inspired me to write this..
" What the F#%K is a UDS?" Which inspired me to write this..
UDS is an acronym for ugly drum smoker.The name comes from the ingenuity of turning a used oil drum into an amazing efficient BBQ smoker. Oddly enough the lid from a 22" Weber kettle grill fit perfectly on a 55 gallon drum. All the racks and accessories fit perfectly as well.
And to that I say "Thank You Weber!"
And to that I say "Thank You Weber!"
|
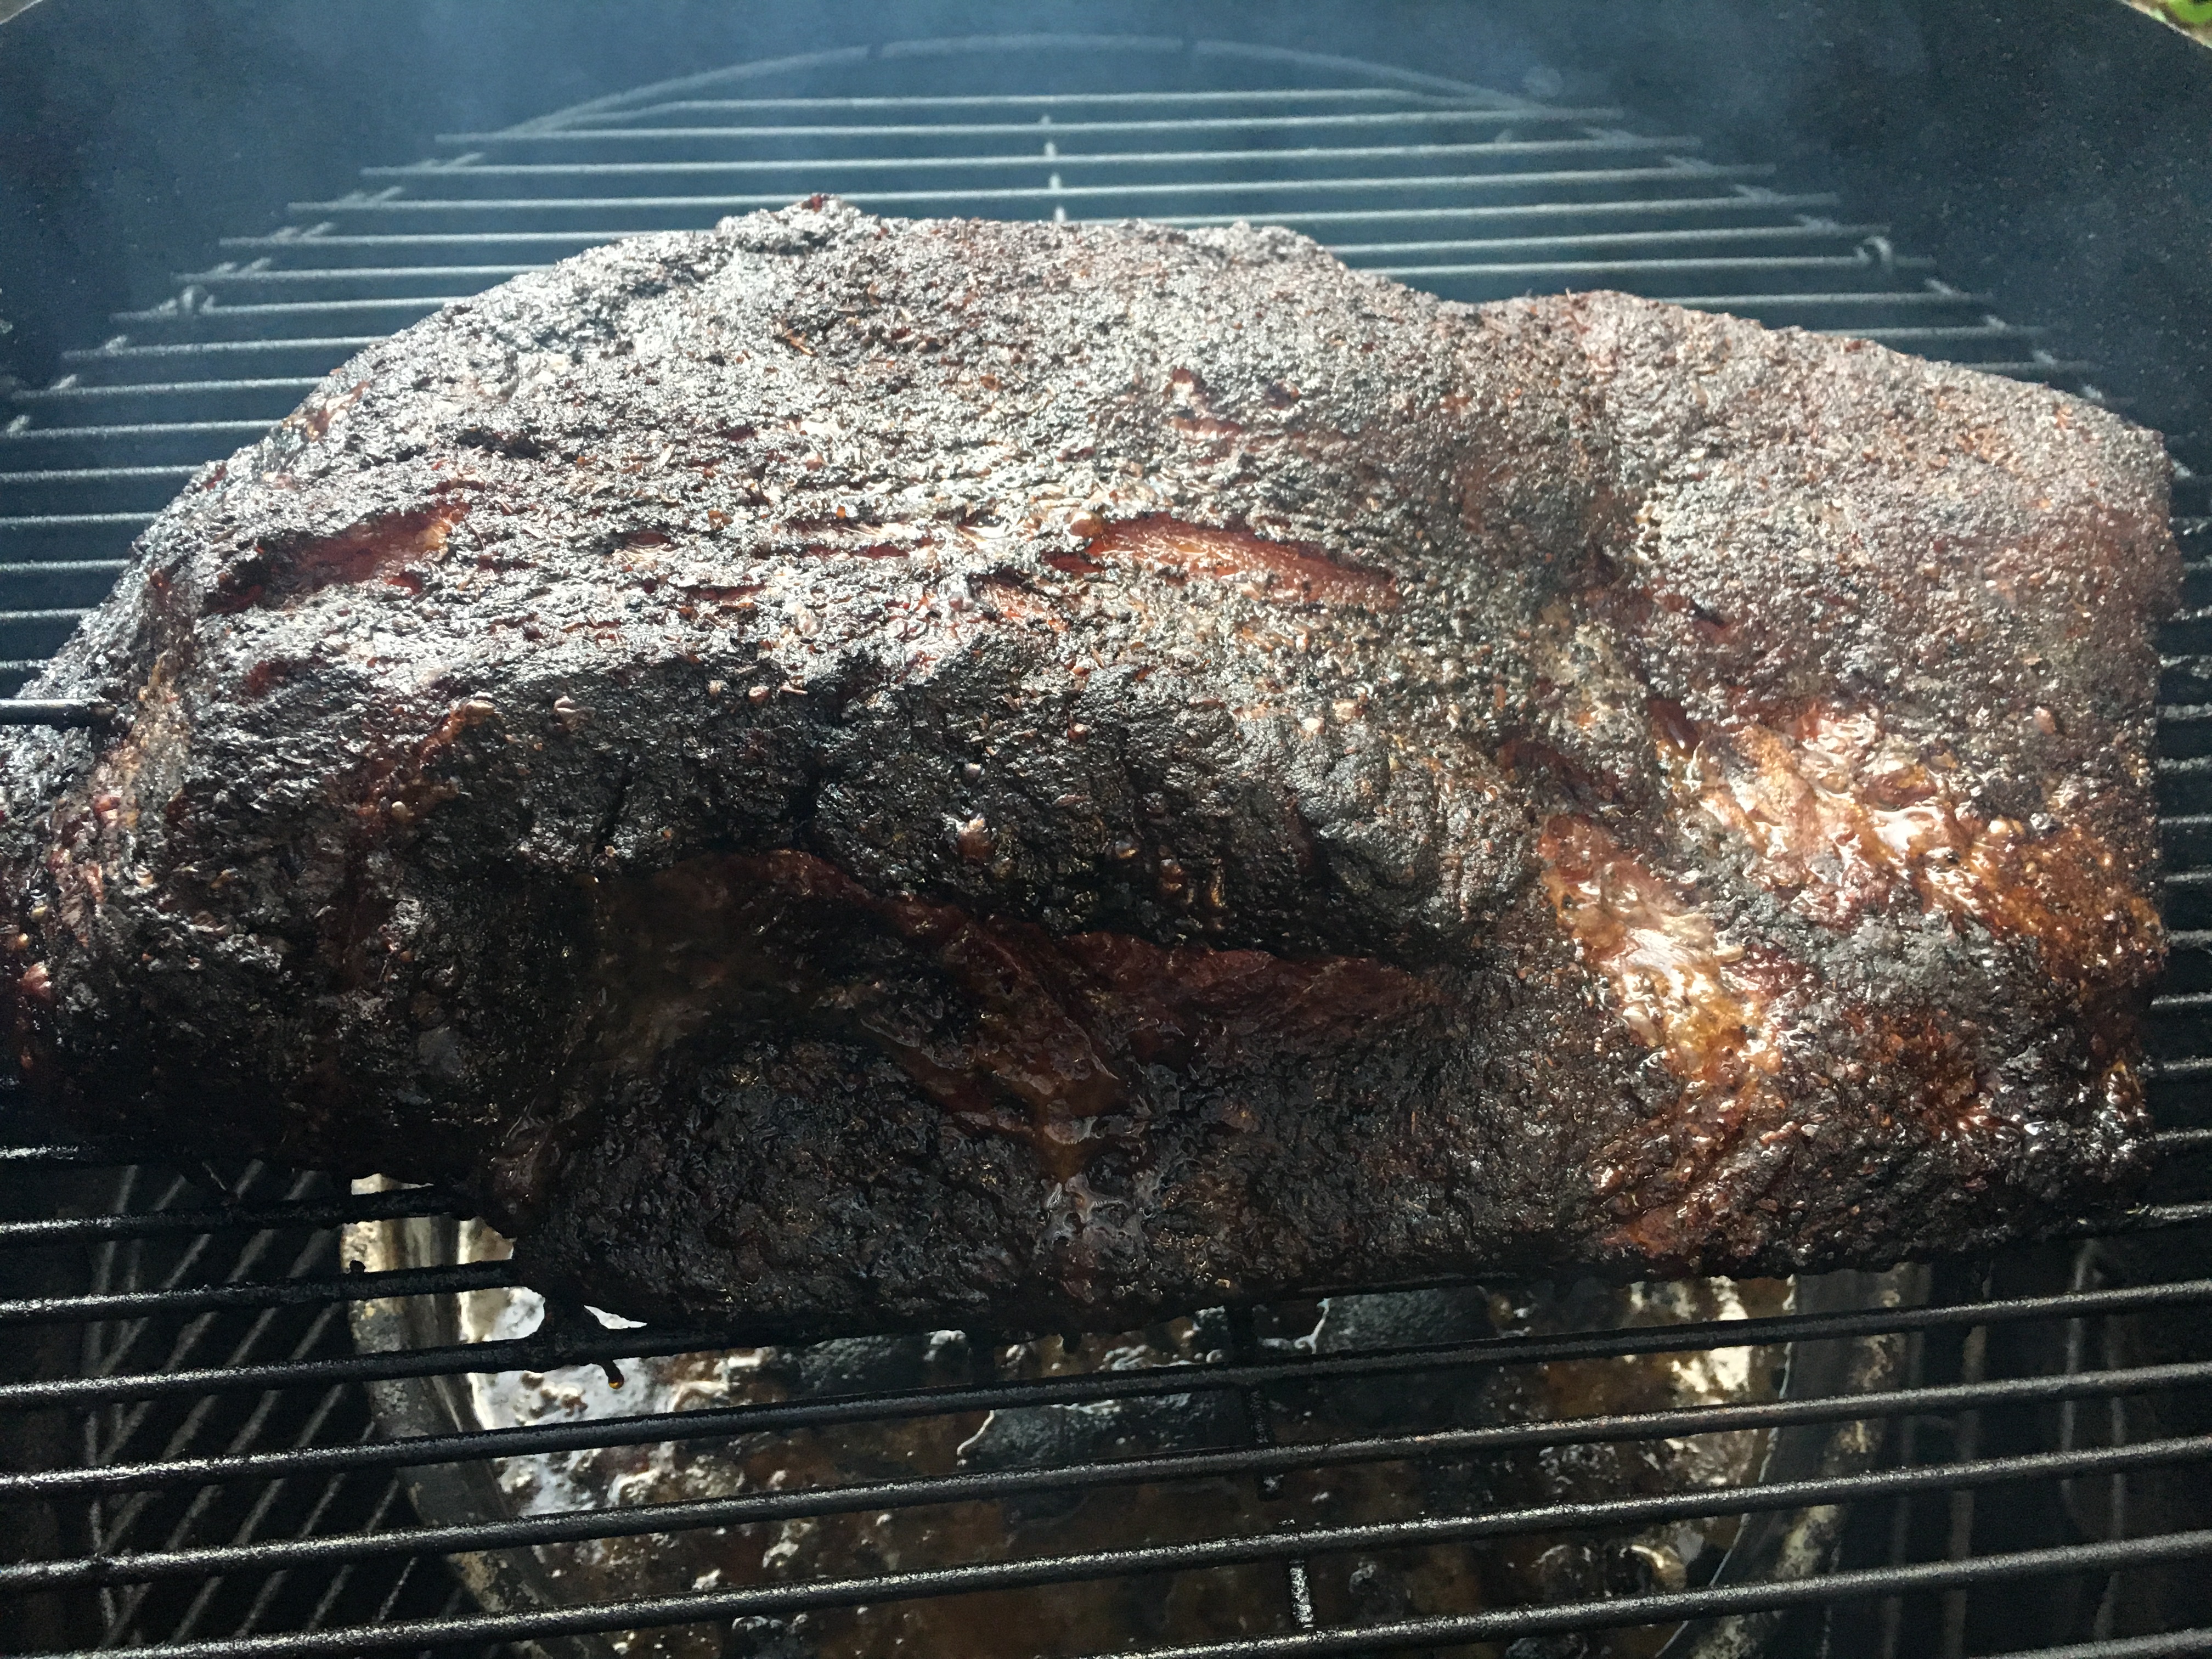
My UDS has held a 200+ degree temp for 16+ hours using hardwood lump charcoal. This is perfect for pulled pork or brisket which need a long slow cook to break down and become tender. As well as to create that the tasty crust.
|
|
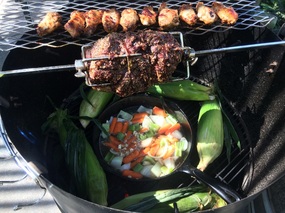
The UDS can also be used as an open pit with the coals being far below the cooking surface. You can get that grilled texture with a smoky flavor and more tender meat. Perfect for BBQ
tri-tip and whole chicken or turkey. The kettle rotisserie kit fits perfectly as well. With the coals being so much lower than the rotisserie it works for perfect for crispy BBQ rotisserie chicken.
tri-tip and whole chicken or turkey. The kettle rotisserie kit fits perfectly as well. With the coals being so much lower than the rotisserie it works for perfect for crispy BBQ rotisserie chicken.
|

|
|
I built my own UDS using an old oil drum I found at work and used parts from some of the many kettle grills I have acquired over the years, but you can now purchase entire Pit Barrel Cooker kits online if you don't have the resources to do it yourself.
|
 |
I use my UDS quite often and am constantly coming up with new uses for it.
It is slowly becoming my favorite smoker, and trust me, I have quite a few.
It is slowly becoming my favorite smoker, and trust me, I have quite a few.